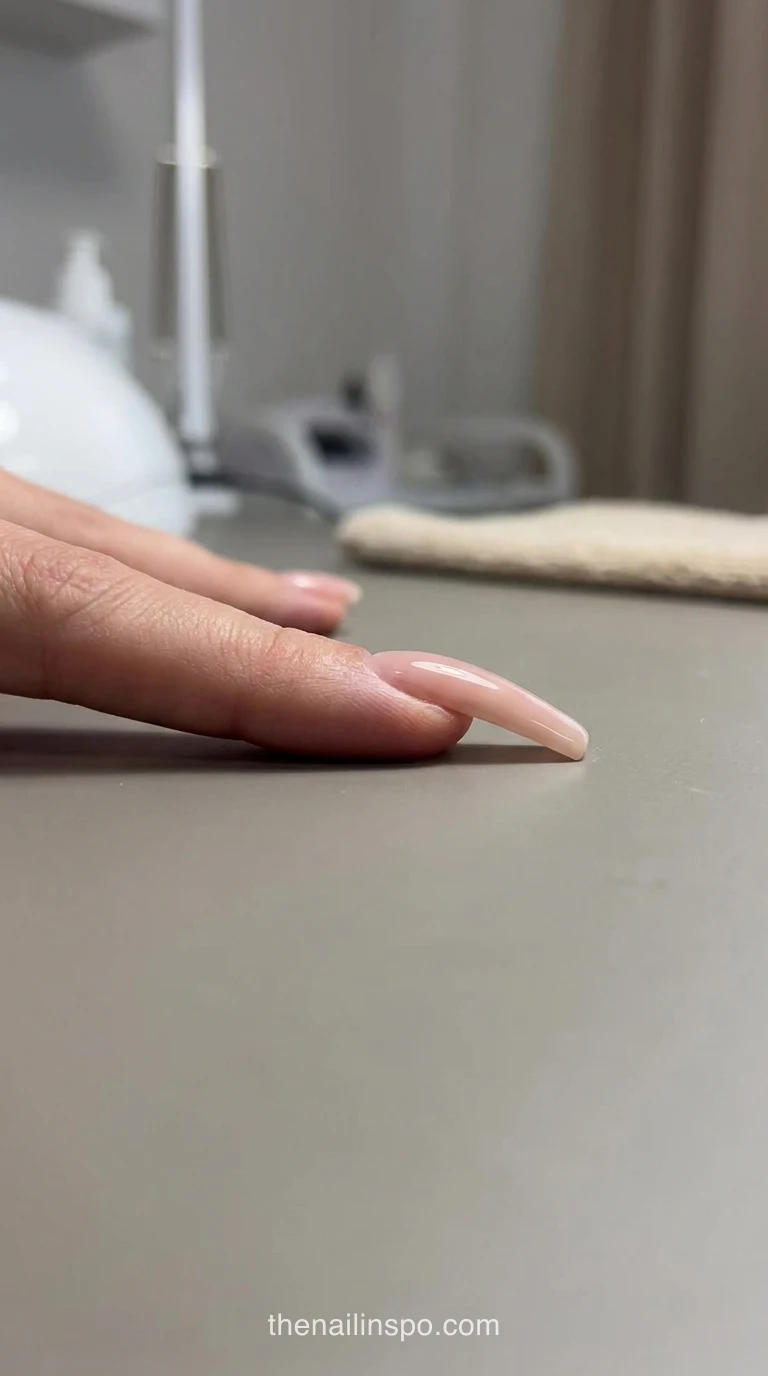
Nail apex placement comes down to one question: where does the high point of the gel or acrylic sit so the stress zone carries the load? On a natural nail with a moderate tip, the apex belongs over the stress zone, about one-half to two-thirds of the way down the nail bed. On a long extension with a deep C-curve, the apex moves back toward the bed, not forward toward the tip. Get that wrong and the set tends to lift at the cuticle or go top-heavy. Here’s where I place it, why, and when the rule doesn’t apply.
Key takeaways- The apex belongs over the stress zone, about one-half to two-thirds of the way down the nail bed.
- Long extensions on a deep C-curve push the apex back over the natural bed rather than forward toward the tip.
- Builder gel for long extensions should be hard or semi-hard, since soft soak-off gel is built to flex.
- Build the apex upright in two or three thin layers, not one thick bead.
- Reformulated builder gels need dual-wavelength 365 nm and 405 nm lamps to cure a 1.0 mm apex fully.
Nail Apex Placement: Set It Over the Stress Zone
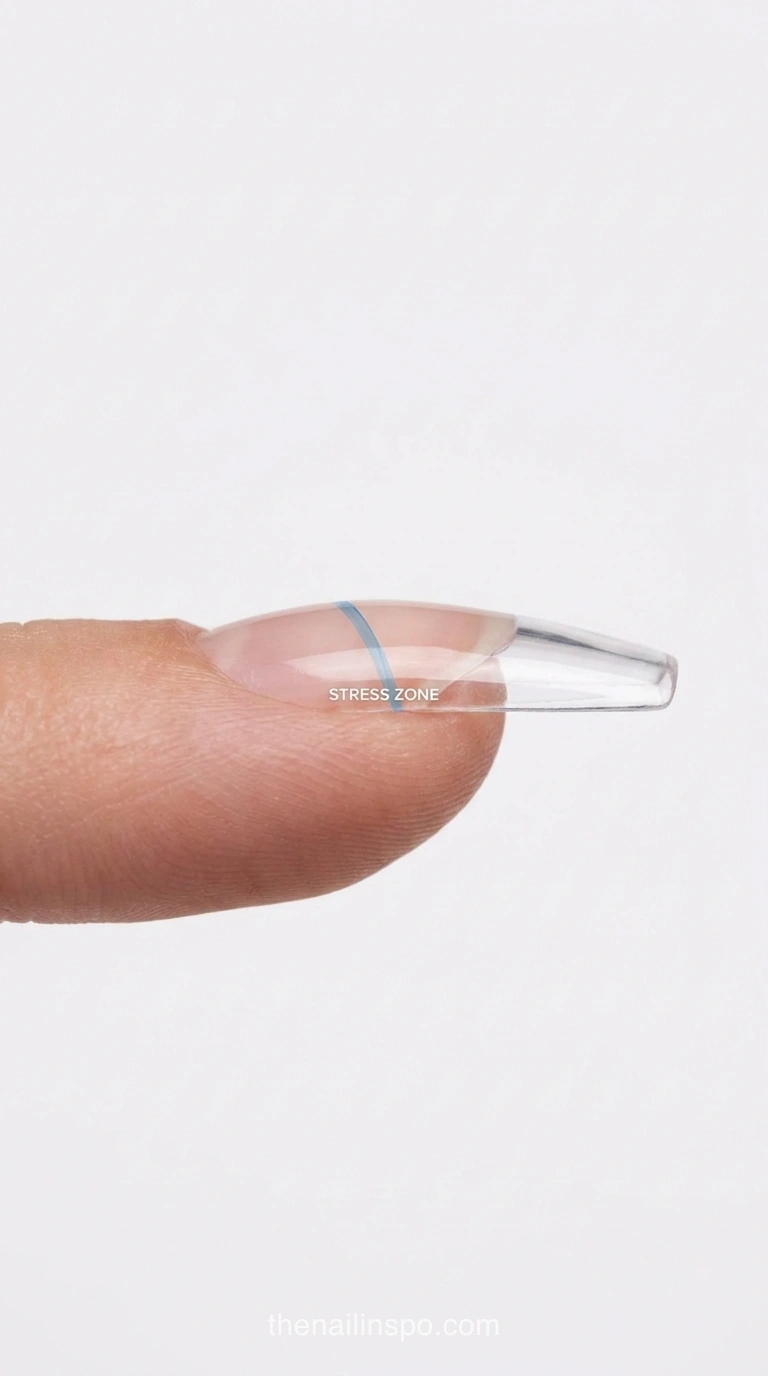
Place the apex over the stress zone, which sits about one-half to two-thirds of the way down the nail bed. That’s where the nail takes the most load when you press on the tip. Put the 1.0 mm peak there and the product carries stress instead of pushing against the cuticle or the free edge.
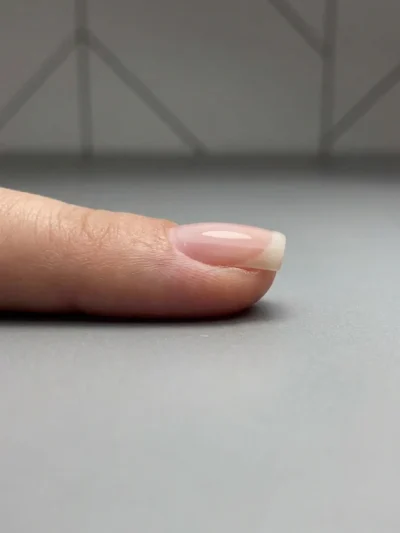
I think of the nail in three zones. Zone 1 is the cuticle area, where I feather the product to paper-thin, 1.0 mm away from the cuticle. Zone 2 is the stress zone, where the 1.0 mm peak goes. Zone 3 is the free edge, which I taper to 0.76 mm, about the thickness of a credit card. Skip the taper and the tip gets heavy fast.
Why the Stress Zone Decides the Apex Spot
Pressure on a nail concentrates along the stress zone, so an apex there reinforces the part that flexes. Put it too close to the cuticle and the product lifts at the base. Put it too far toward the tip and the set goes top-heavy.
Apex Placement Mistakes to Avoid
The two mistakes that cause the most rework are a peak that sits too far forward and a sidewall that’s too flat. Flat sidewalls make the set look finished before it’s structurally sound.
Sophia Beed’s note: I’d rather sit the peak too far back than too far forward. A forward peak is what turns a set top-heavy.
 Read NextWhy Do Acrylic Nails Lift? 6 Secrets to Stop It Now
How the C-Curve Nail Shape Moves the Apex
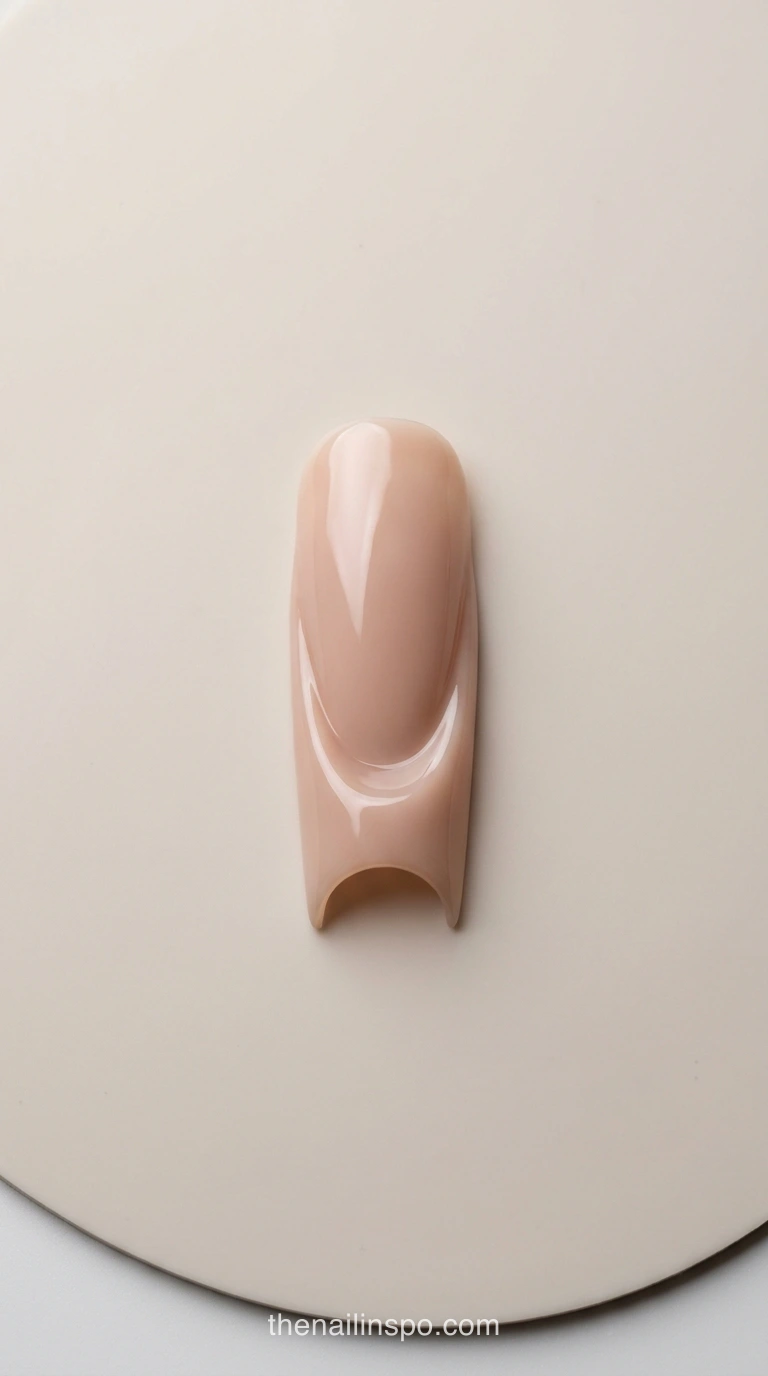
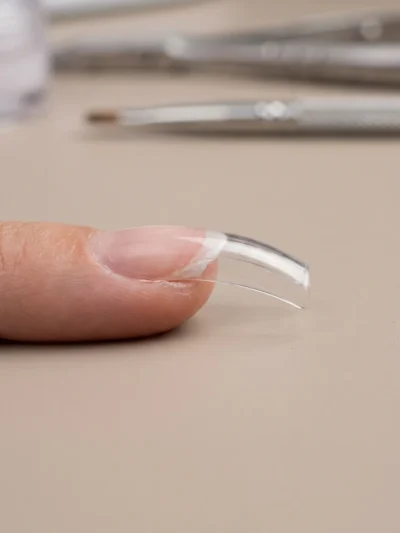
On a deep C-curve, the apex moves back over the natural bed as the extension gets longer. The curve forms a pinched tunnel, and the strength lives inside it. That’s the opposite of the common teaching that the apex sits in one universal spot and slides forward on longer nails.
The extension acts as a lever arm, so the anchor has to sit farther back over the natural bed. The curve does the work, not a dome. If the natural nail curls over the tip like a pincer, read pincer nail shapes before you place anything, because the curve changes the rules.
Where Is the Apex on a Nail With Extensions?
On a long extension with a deep C-curve, the apex sits farther back than most tutorials show, usually over the natural bed rather than over the free edge. On a short, flatter nail, it sits closer to the middle of the nail.
Long Extensions Move the Apex Back
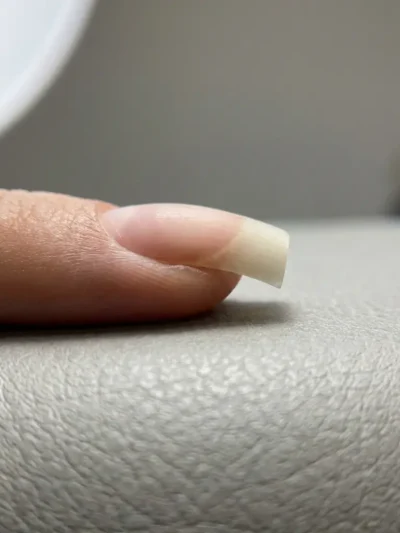
Look at the set from the side. If the peak sits in front of the natural bed’s midpoint, move it back before you cure.
Hard Builder Gel vs Soft Gel for Apex Builds
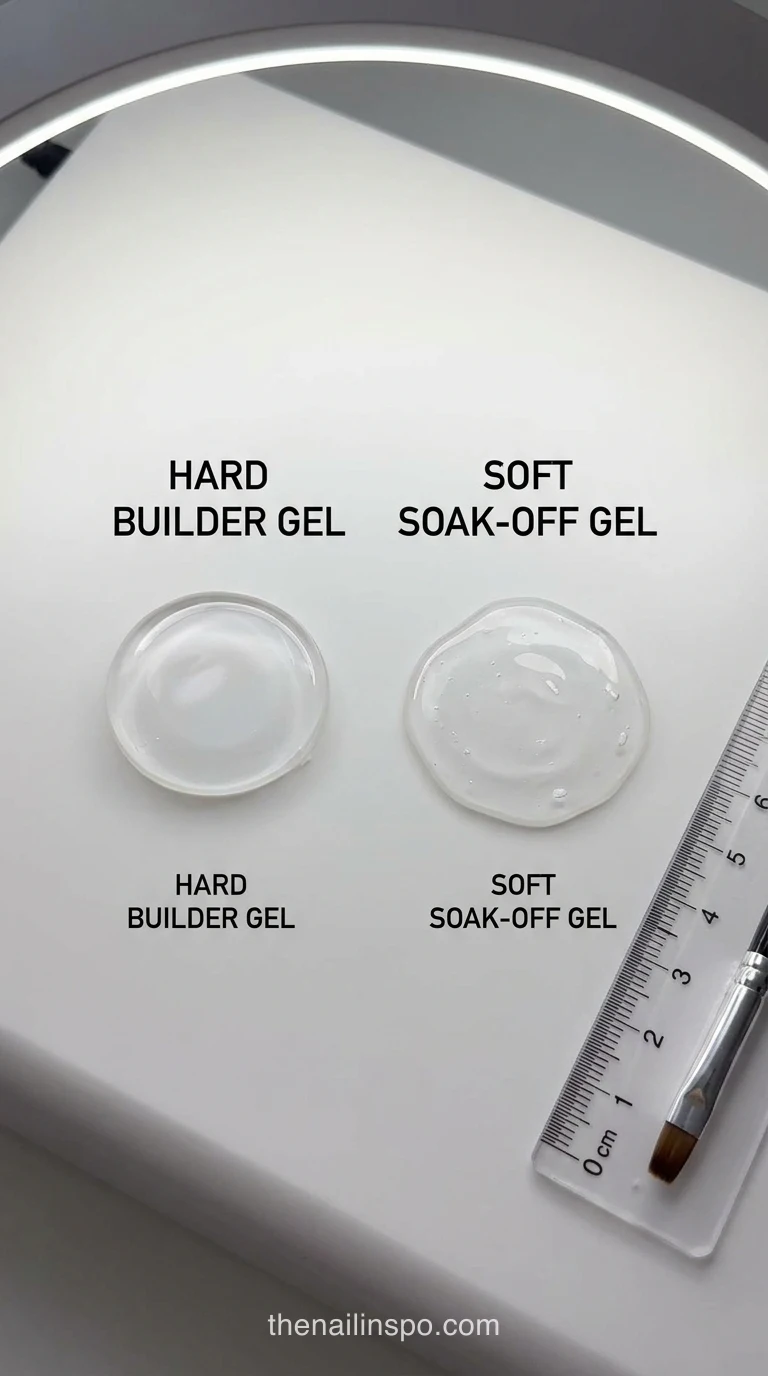
For a long apex build, use a hard builder gel or a semi-hard hybrid. Soft soak-off gel is built to flex, and that flex is exactly what you don’t want under a long extension.
As I understand the published explanations from nail chemist Doug Schoon, soft gels are loosely cross-linked and porous so they can flex like a natural nail’s shock absorber. Long extensions need the opposite. Tightly cross-linked hard builders keep the stress zone from flexing and prying loose.
| Gel type | Structure | Best use on long extensions | Verdict |
|---|---|---|---|
| Soft soak-off gel | Loosely cross-linked and porous, built to flex. | Short overlays on natural nails, not apex builds on long tips. | Skip it for long extensions. |
| Hard builder gel | Tightly cross-linked, so it holds its shape under load. | Long extensions with a sculpted apex. | My default for length. |
| Semi-hard hybrid, such as Kokoist Platinum Filler Base | Sits between the two, with a little more give than hard builders. | Mid-length sets where you want some flex. | Reasonable when you’re unsure, but test it on a long tip first. |
Why Soft Gel Struggles on Long Tips
Soft gel gives way at the stress zone first. The usual sign is lifting that starts at the sidewalls once the apex begins to flex.
What an Apex Build Costs in 2026
Current US salon menus put apex-structured builder gel sets at $46 to $75, with a $55 national median. In the UK, expect £35 to £75 and 45 to 90 minutes. Rebalancing in London runs £30 to £80 and 70 to 100 minutes. Prices vary by salon and by length, so treat these as a starting range.
 Read NextHard Gel vs Acrylic: Which One Is Best for You?
Building the Apex Without Lifting or Overheating
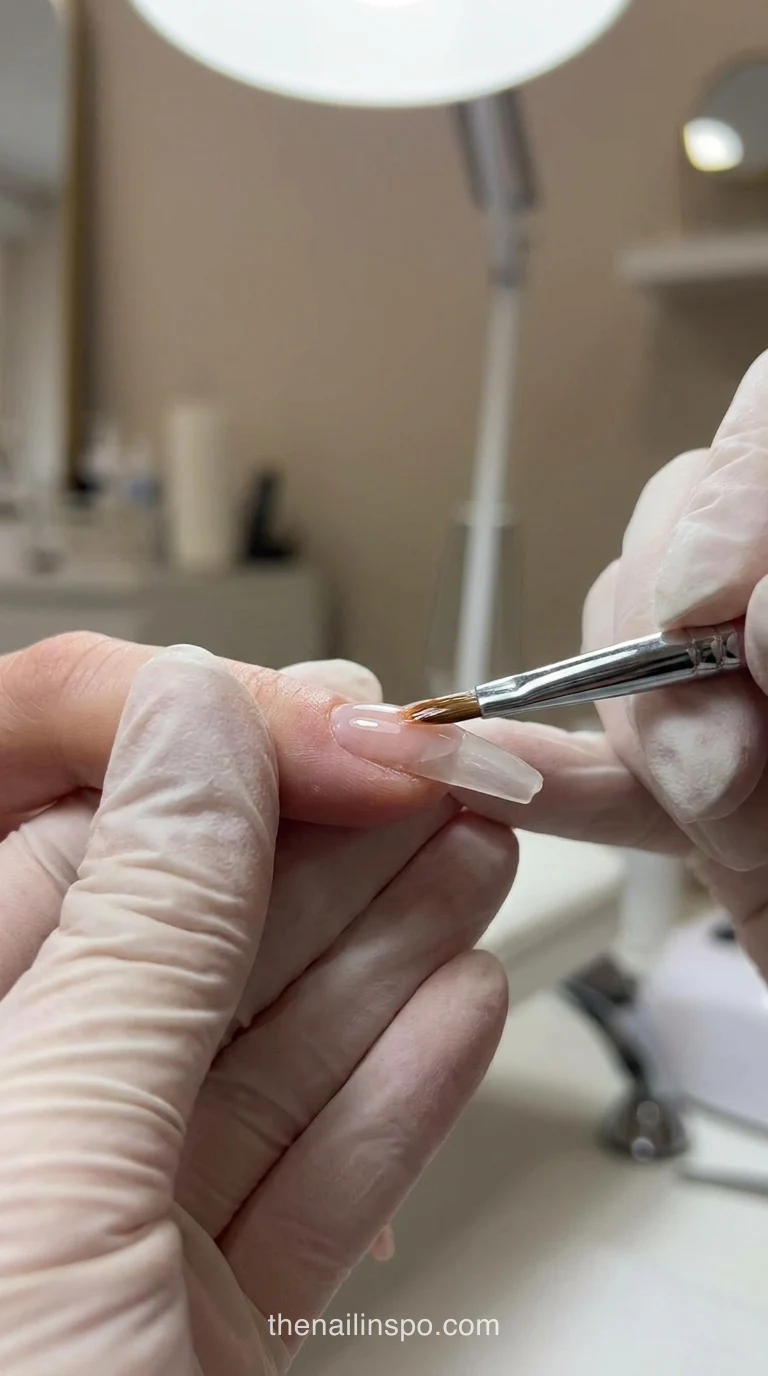
Build the apex upright in two or three thin layers, cure each one, and keep the lamp in its low-heat mode. One thick bead is the fastest way to flood the sidewalls and overheat the nail.
Step 1: Prep the plate
Buff the natural nail with a 240-grit buffer.
Step 2: Feather Zone 1
Taper the product to paper-thin, 1.0 mm away from the cuticle.
Step 3: Start upright
Lay the first thin layer over the stress zone without inverting the hand.
Step 4: Add thin layers
Build two to three in total, never one thick bead.
Step 5: Cure on low heat
Use the 90 to 120 second low-heat lamp mode for each layer.
Step 6: Taper the free edge
Bring Zone 3 down to 0.76 mm.
Many technicians report pulling the hand out once the first tingle starts instead of waiting out the full cycle. That’s a judgment call, and I’d rather rely on the low-heat mode.
Sophia Beed’s note: Inversion can dome a flat nail, but on a deep C-curve it drains gel toward the middle and leaves a tall spine. I build upright on those every time.
Fixing Top-Heavy Nails at Rebalance
Rebalance every two to four weeks by filing the forward-grown apex back over the stress zone. Reposition it before the tip gets heavy, or the set starts lifting from the sidewall.
Keeping Lamp Heat Under Control
Thin layers and low-heat mode reduce the heat spike that thick beads cause. Thick beads hold heat, and the nail feels it.
 Read NextCan You Have Short Acrylic Nails? 7 Best 2026 Tips!
Dual-Wavelength LED Lamps and the 2026 TPO Ban
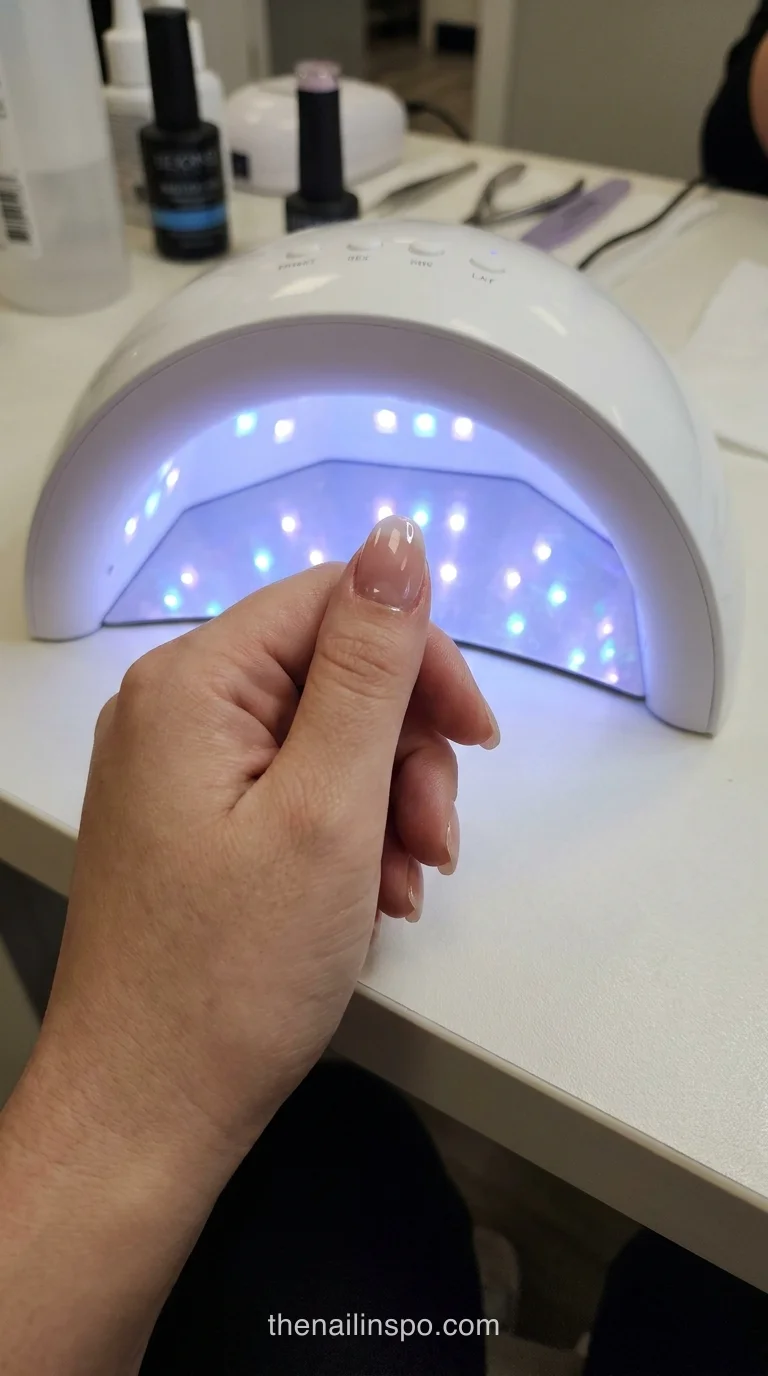
Reformulated builder gels rely on replacement photoinitiators such as TPO-L and BAPO, so a single-wavelength lamp may leave a 1.0 mm apex undercured. Use a dual-wavelength 365 nm and 405 nm lamp rated 36W to 48W.
The EU banned the photoinitiator TPO on September 1, 2025. The UK ban took effect August 15, 2026, and the sell-through deadline falls on February 14, 2027. Check product labels before you reorder, because older formulas may still be on the shelf.
Why 365 nm and 405 nm Both Matter
The two wavelengths target different photoinitiators, so one wavelength can leave part of a thick apex soft. Dual-wavelength lamps cover both.
Lamp Wattage for a 1.0 mm Apex
A 36W to 48W dual-wavelength lamp is the range I’d look for when curing a full 1.0 mm peak. A cheap single-wavelength lamp is a false economy for apex work.
Recommended for you- Whether short acrylic nails are an option: useful if the natural nails are too short to carry a long apex build.
- Pincer nail shapes: the downward curl changes where the apex sits, so read this before you place one.
Frequently Asked Questions About Apex Height
How high should a nail apex be?
There’s no single height that works for every nail. Place the peak over the stress zone, about one-half to two-thirds of the way down the nail bed, and keep it low enough that the free edge stays light. On deep C-curves, the peak sits farther back than on flat nails, so measure from the natural bed, not from the tip.
How often should a gel apex be rebalanced?
Plan to rebalance every two to four weeks. At each visit, file the forward-grown apex back over the stress zone and reposition it before the tip gets top-heavy. Rebalancing timing also depends on how fast the client’s natural nail grows, so adjust from there.
Do ski-jump or hooked nails change the apex rule?
Yes, completely. Ski-jump nails grow upward and hooked nails curve back toward the finger, so the longitudinal direction flips and a single standard apex height no longer applies. Start from the nail’s growth direction and the curve, then place the stress zone where the nail actually bends.
Should I remove the old apex before rebalancing?
Not usually. File the forward-grown apex back and reposition the peak over the stress zone so the existing structure carries the load. Remove product only where it has lifted or where the free edge has gone heavy.
Next time you build an apex, mark the stress zone on the natural nail before you apply product, then check the peak from the side before you cure. Build it upright in thin layers, and use a hard builder or semi-hard hybrid if the tip is long. If the apex has drifted forward by the first rebalance, your placement was too far forward, and you’ll know it next time.
Comments (0)
No comments yet. Leave a thought below!