By Sophia Beed, senior nail technician and educator with more than nine years of salon experience in London. Published September 28, 2026. Last updated September 28, 2026.
Liquid gel lifting primarily occurs due to improper nail preparation, such as contaminated margins or gel touching skin, and application errors like incorrect edge bulk or unsupported edges. To fix it, remove separated product, inspect the nail, and rebuild on a sound surface using a verified gel-and-lamp system.
Key takeaways- Find the first gap before changing your prep or switching gels.
- Gel that feels hard does not, by touch alone, prove an adequate cure.
- A bulky structural cap can create a snag at the free edge.
- A flexible base is worth considering only when the builder and base are approved to work together.
- Remove a lifted pocket before applying fresh product; top coat cannot restore its bond.
Liquid gel lifting problems: diagnose the first gap
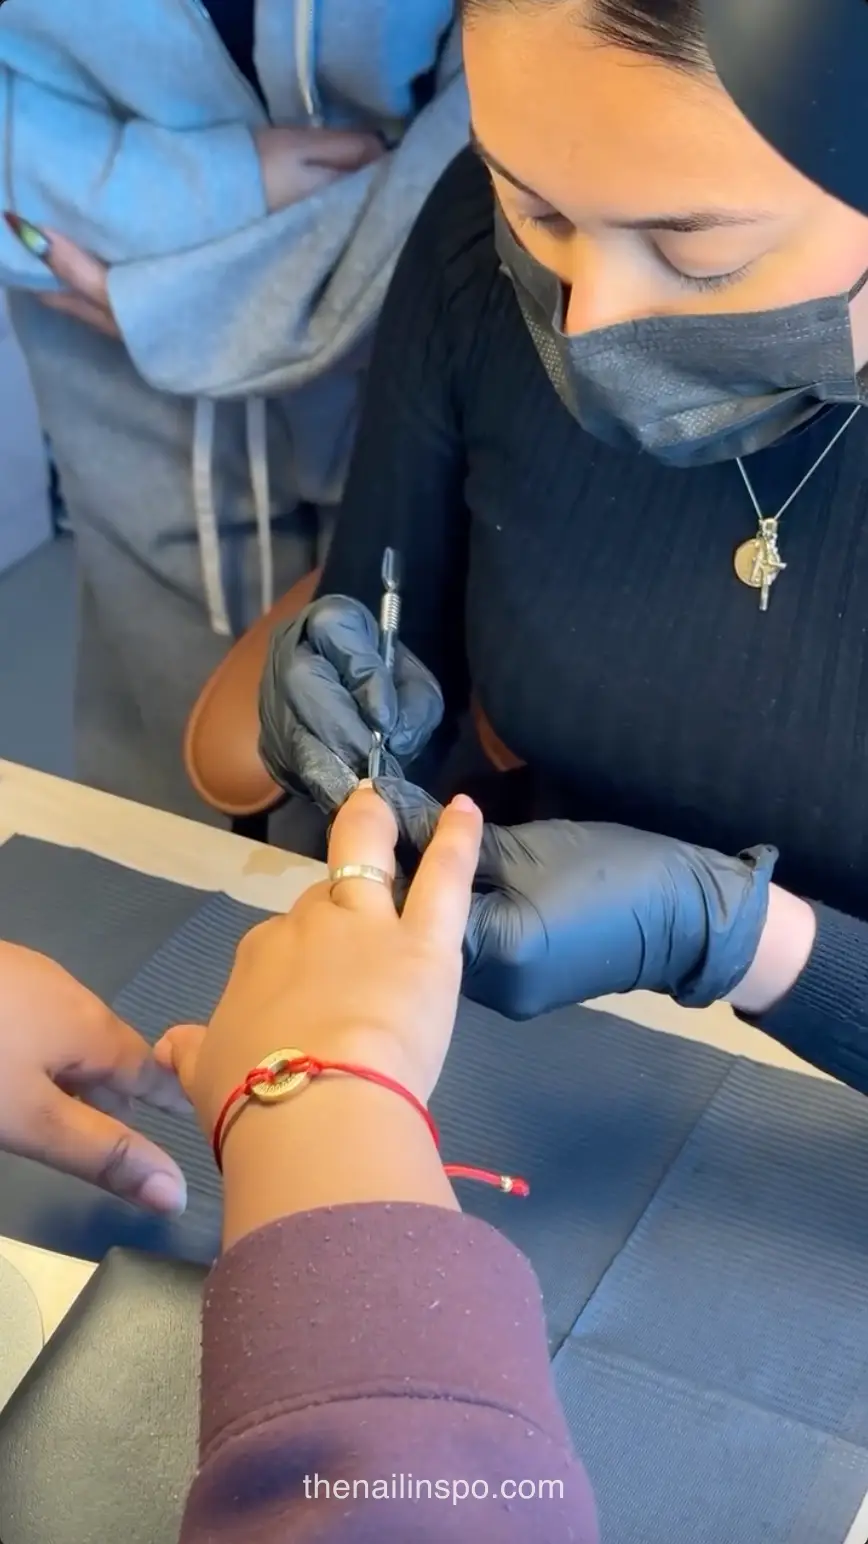
Source : studioobra_
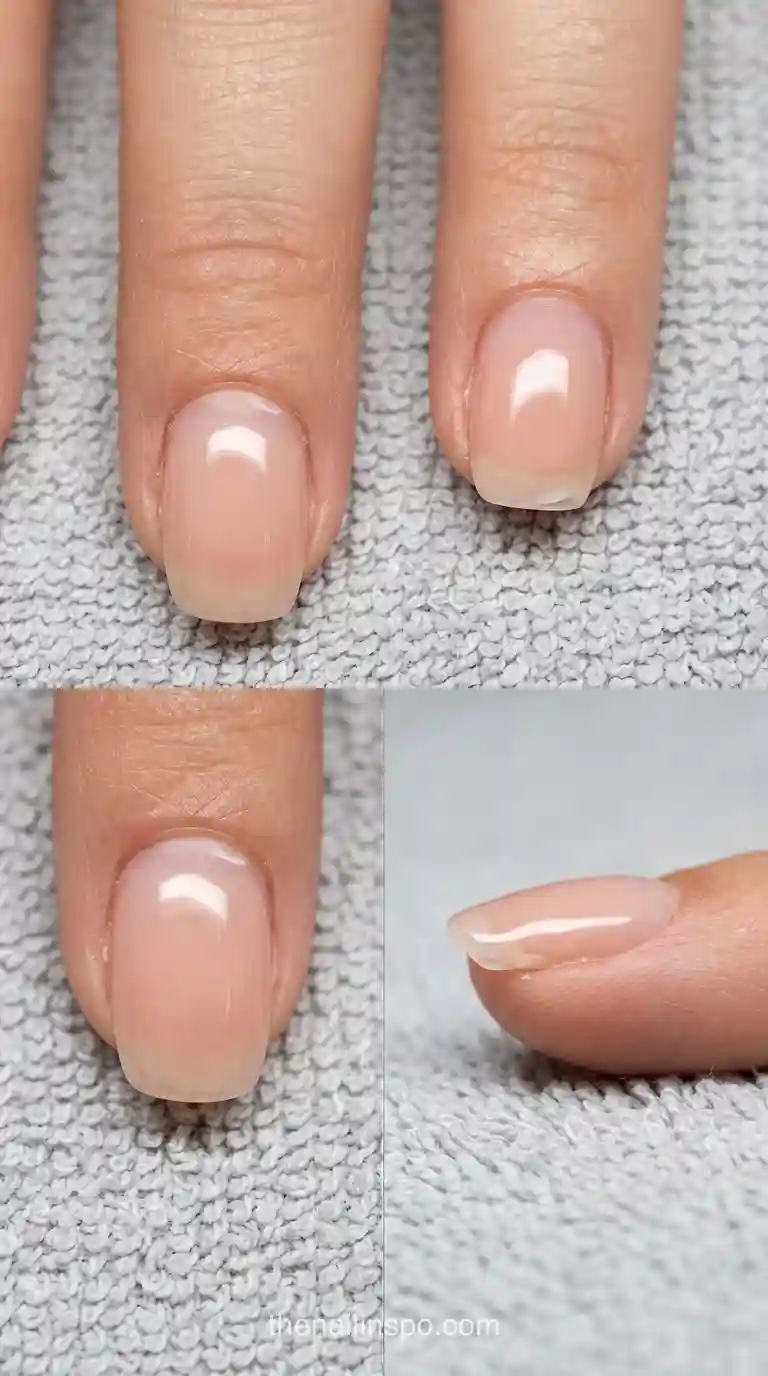
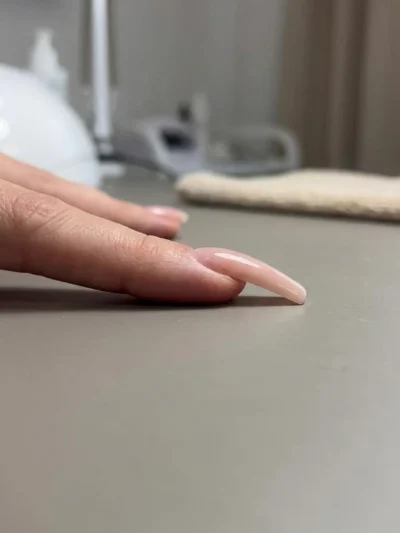
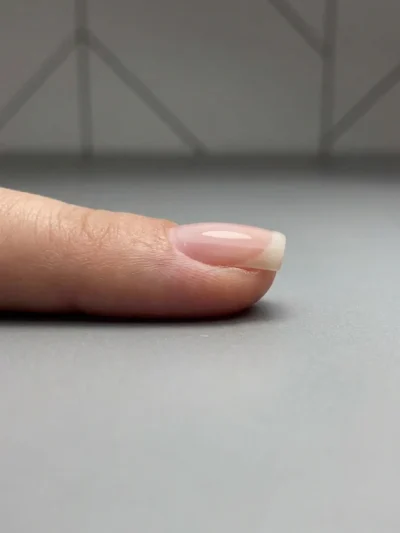
The most useful clue is where separation started, not how much of the overlay has peeled away by the appointment. Check the cuticle margin, both sidewalls, and the free edge under good light. I look from the side as well as the top: a neat top view can conceal a tiny raised lip.
Why does builder gel lift after a week?
A lift noticed around days four to seven can follow a small application error that took several days to catch on hair or clothing. Technician reports in the supplied notes describe nearly invisible gel flooding at the proximal margin. Check that margin first, but don’t declare flooding the cause without inspecting the product and nail beneath it.
What the first visible gap can tell you
A single lifted corner after a knock calls for a different correction than matching gaps across several nails. If one nail failed, I check its length, side profile, and the client’s account of an impact. If several failed at the same margin, I review the shared prep, placement, and curing sequence before blaming the gel.
 Read NextWhy Do Acrylic Nails Lift? 6 Secrets to Stop It Now
How Much Do Gel Nail Repairs Typically Cost and How Long Should They Last?
| Metric | Value | Reference / Industry Baseline |
|---|---|---|
| Average gel nail service duration | 60-90 minutes | Industry standard for professional gel application |
| Recommended lamp wattage for full cure | 36-48W LED/UV | General manufacturer guidelines for professional gel systems |
| Average cost for a single gel nail repair | $15-$25 USD | Supplied salon notes (from article) |
| Typical gel nail wear time before lifting | 2-3 weeks | Industry expectation for properly applied gel |
Gel curing time: why a hard surface proves little
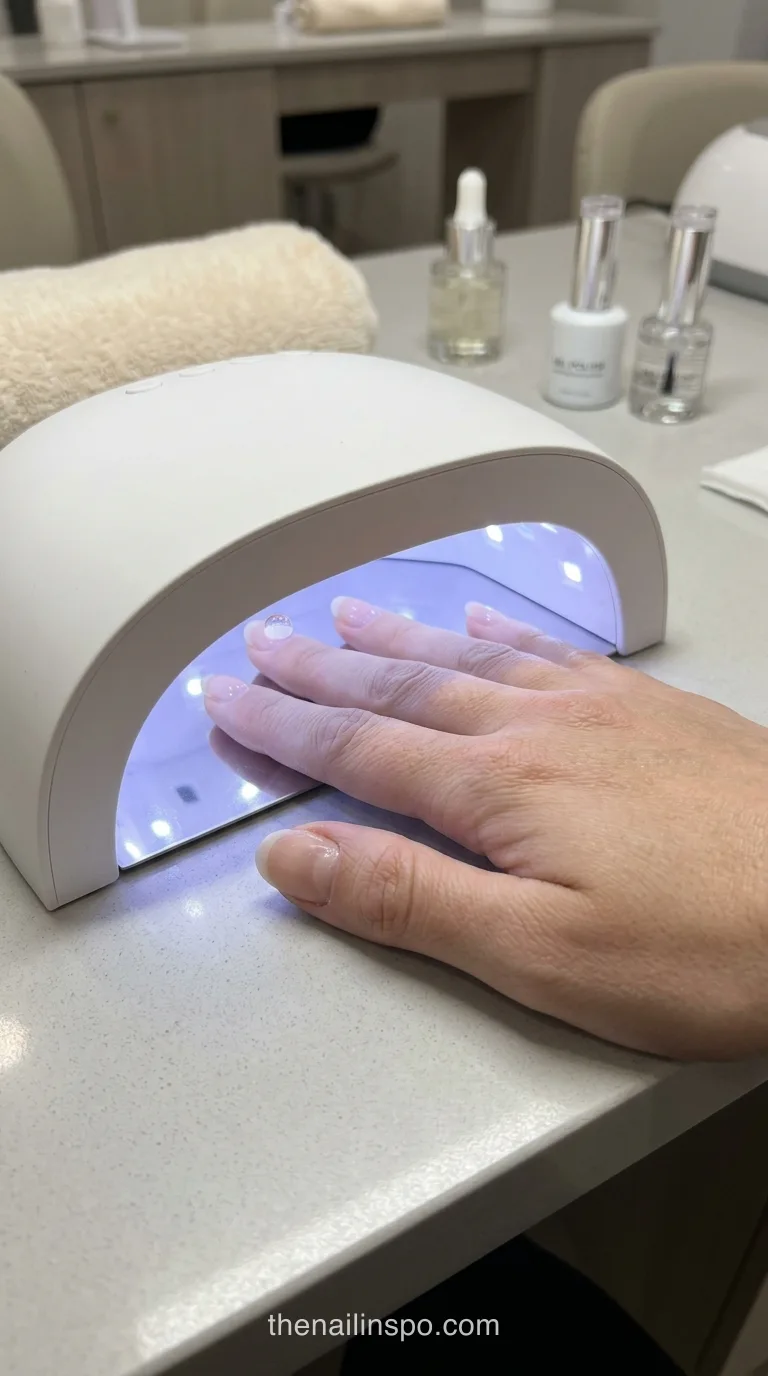
A firm surface is not a cure test. The reaction beneath it depends on the formula, layer thickness, light output, and exposure time. I would check the gel maker’s directions before adding seconds by instinct. The supplied 50% and 90% conversion figures are not universal thresholds for nail gels, so they are not used here as service rules.
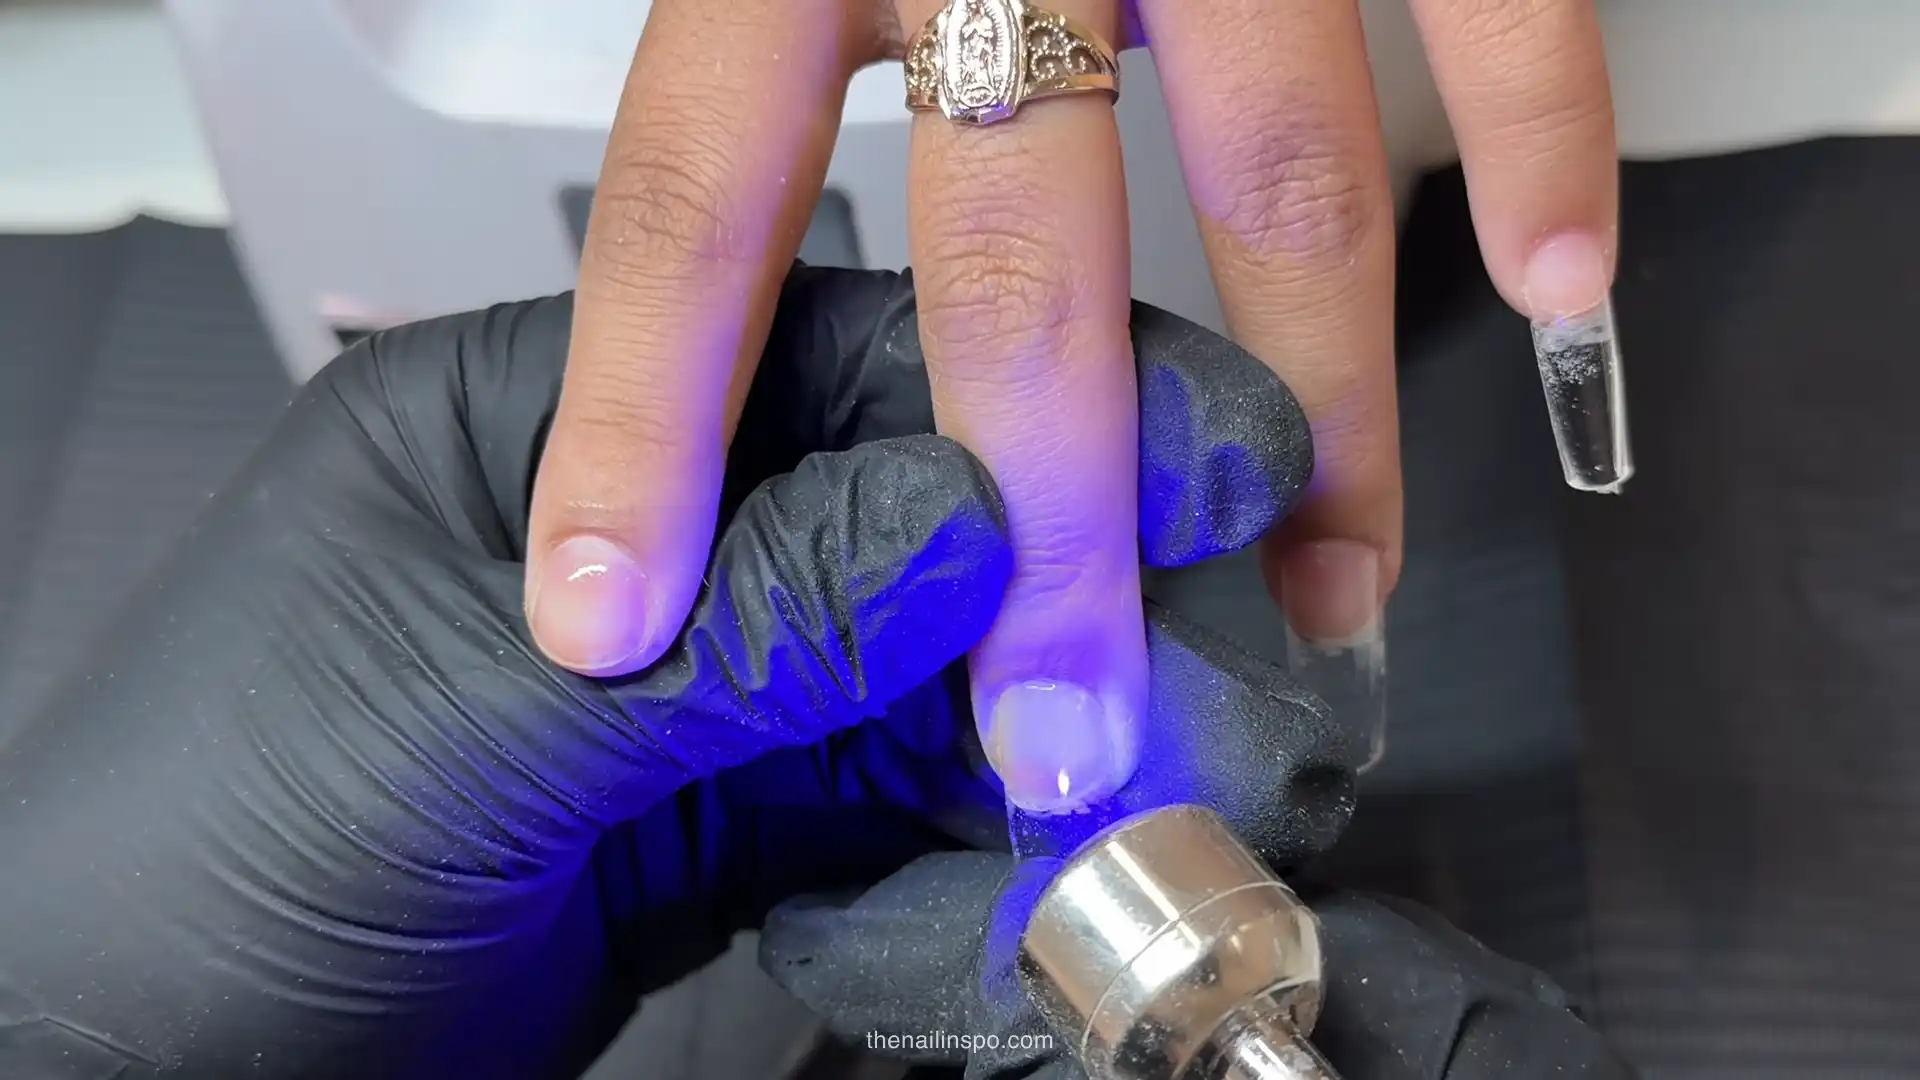
Does a firm finish mean a full cure?
No. A gel can feel set while its deeper layer has received inadequate light, particularly where a structural bead is too thick. That does not mean every tacky surface is under-cured; some systems intentionally leave an inhibition layer. I check the specified layer thickness and full-cure instructions, not just the feel of the finish.
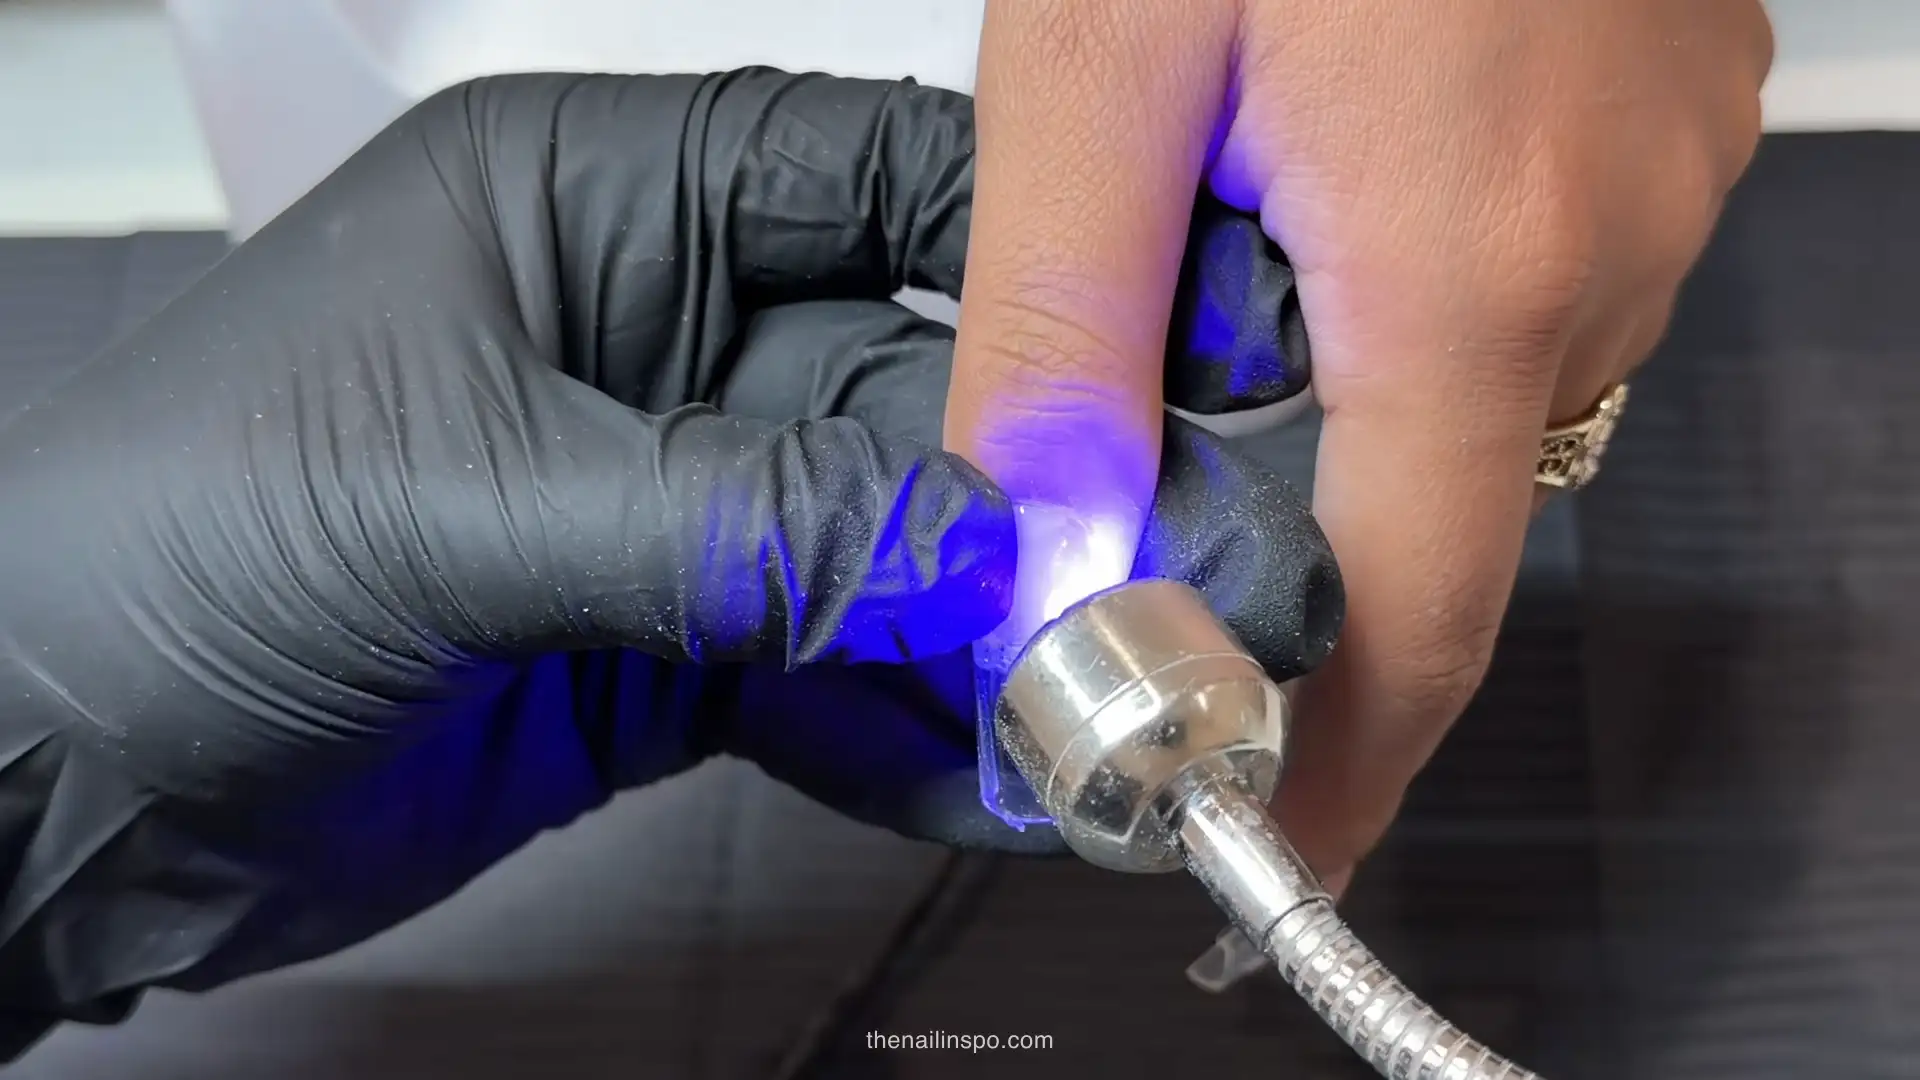
Match the UV/LED nail lamp to the gel
Use a lamp the gel manufacturer has approved or tested for that product, and follow its stated hand position and cure cycle. Wattage printed on a lamp is not proof of compatibility. The GelBottle’s BIAB application guide, for example, specifies its own lamp and a 99-second Low Heat Mode cure for its BIAB layers; that timing is not a rule for other brands.
 Read NextHard Gel vs Acrylic: Which One Is Best for You?
What Key Technical Terms and Tools Are Essential for Preventing Gel Lifting?
Understanding specific terminology and tools is crucial for preventing gel lifting. The ‘invisible cuticle,’ or pterygium, is dead tissue that must be meticulously removed from the nail plate, distinct from the living eponychium. Techniques like the ‘Russian Manicure’ utilize specialized tools such as a diamond flame bit for mechanical exfoliation. Chemical preparation with a dehydrator to remove oils and a bonder (primer) to create a strong adhesive layer are also vital steps for optimal gel adhesion.
Gel lifting at free edge: compare failure patterns
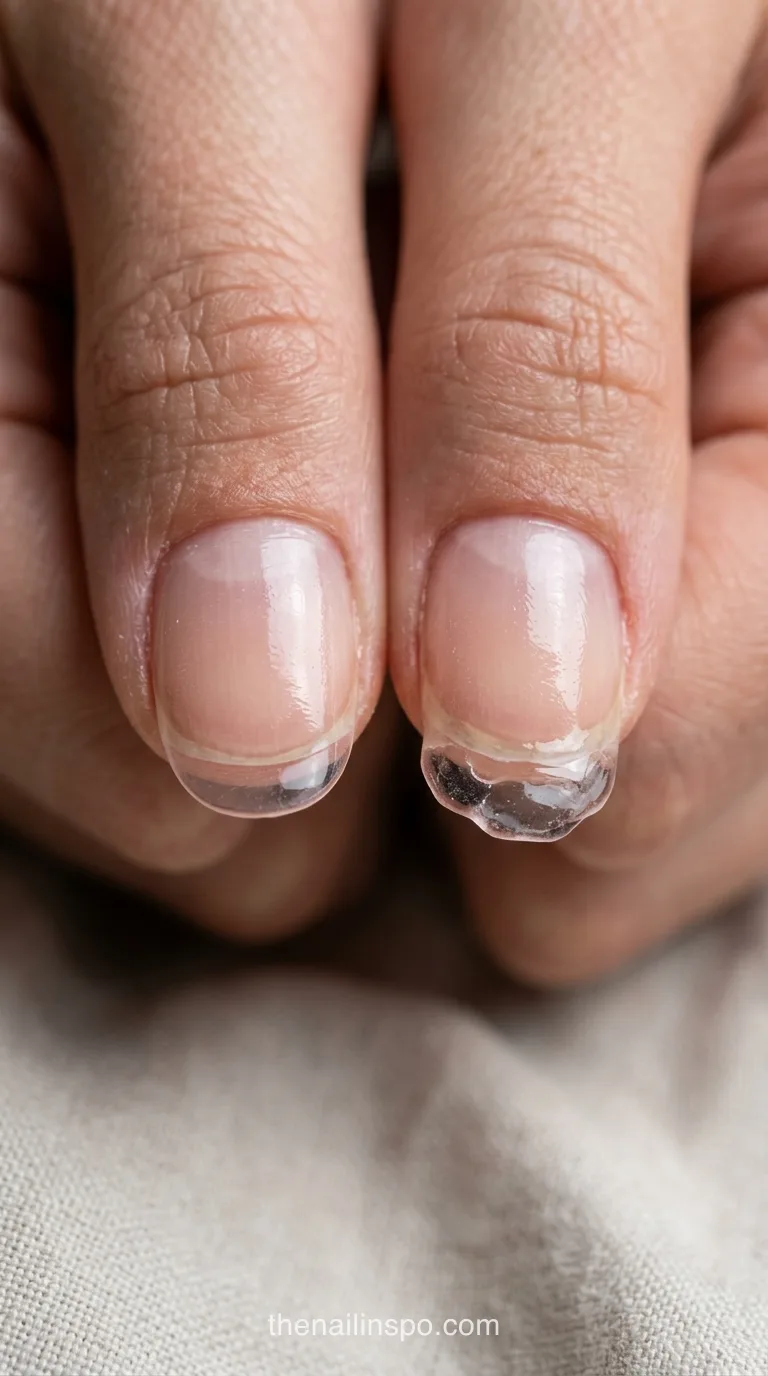
Tip separation is not automatically a missing cap. A thick ridge under or beyond the free edge can catch during ordinary use, while a flexible natural nail may move away from a rigid overlay. I inspect the underside and end view before adding more product. The table gives starting checks, not diagnoses made from location alone.
| First gap | Check first | What can mislead you | Verdict |
|---|---|---|---|
| Cuticle margin | Look for product touching skin or residue left on the nail plate. | A late-discovered gap may have begun days earlier. | Correct the margin and prep; do not file deeper for grip. |
| Sidewall | Inspect lateral-fold contact and support from the top and end views. | A smooth top view can hide a thin, unsupported side. | Clear skin contact and rebalance the edge. |
| Free edge | Inspect tip thickness, underside snagging, flex, and any reported impact. | Adding another heavy cap may enlarge the catching ledge. | Keep the finish controlled; address bulk or material mismatch. |
| Stress area | Check the apex position against the nail’s current length and shape. | Extra primer cannot compensate for poor structure. | Rebuild support rather than repeating prep. |
Gel lifting at cuticle: check the ledge
A raised proximal edge may be cured gel that flowed onto skin, or product bonded over residue on the plate. Those need careful inspection because they can look similar after growth. I keep a clean margin while the gel self-levels and check it again before curing; getting closer is not worth leaving a catchable lip.
How a thick cap can create a snag
Capping is not permission to wrap a structural bead around the tip. The supplied technician reports describe thick free-edge wraps catching and contributing to delamination. I would preserve the product maker’s edge-finishing directions, but keep structural bulk off the distal underside. A thin, controlled finish and a heavy overhang are different things.
Sophia Beed’s note: Inspect a lifting tip from the end, not just above. The underside is where an overbuilt wrap becomes obvious.
Why is Improper Nail Preparation the Number One Cause of Gel Lifting?
Improper nail preparation is overwhelmingly the primary cause of liquid gel lifting. This often involves inadequate removal of the ‘invisible cuticle’ or pterygium, which is non-living tissue adhering to the nail plate. Gel cannot bond effectively to this dead tissue, leading to separation. Meticulous mechanical exfoliation, often using tools like a diamond flame bit, is crucial to ensure the gel adheres directly to the natural nail’s keratin.
How Do Dehydrators and Primers Enhance Gel Adhesion?
Beyond mechanical preparation, chemical steps are vital for robust gel adhesion. Dehydrators effectively strip the natural nail plate of surface moisture and oils, creating an optimal dry canvas. Following this, a primer or bonder is applied. These products act like a double-sided adhesive, creating a strong chemical bond between the natural nail and the gel product, significantly reducing the likelihood of lifting.
What Client Aftercare and Body Chemistry Factors Contribute to Lifting?
Client aftercare significantly impacts gel longevity. Habits like picking at nails, prolonged water exposure (e.g., long baths), or using nails as tools can compromise the gel’s bond. Furthermore, individual body chemistry plays a role; factors such as naturally oily nail plates, hyperhidrosis (excessive sweating), or hormonal imbalances can make some clients ‘problem lifters,’ requiring tailored gel systems for optimal results.
Rubber base coat or hard gel for flexible nails?
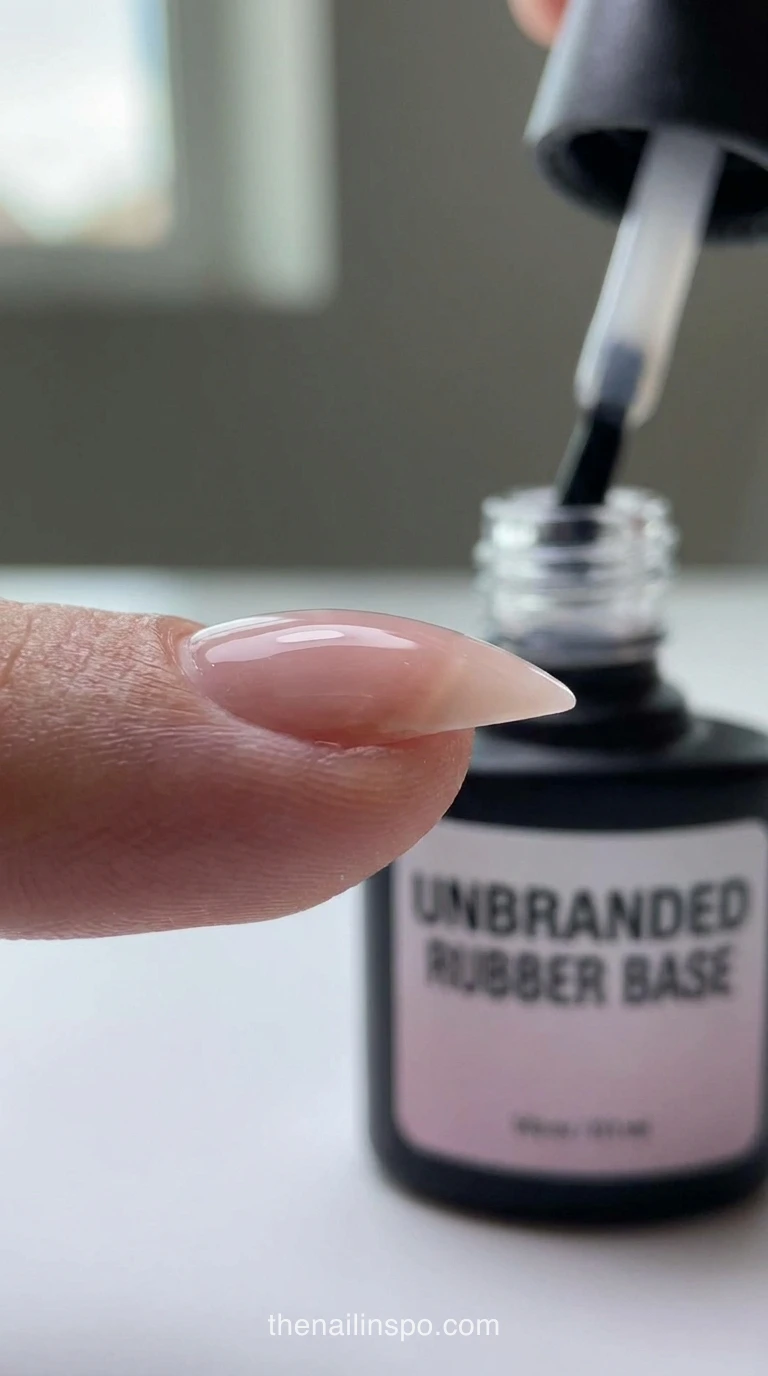
If the natural free edge bends readily, pairing it with a very rigid structural gel may concentrate movement at the bond. A compatible elastic base or a builder suited to short, flexible nails may be a better choice. If the plate is stable and the service needs sculpted length, structure and the gel’s intended use matter more than chasing flexibility.
Best base for thin, flexible nail plates
For a highly flexible plate, I would check whether the chosen builder system permits a thin rubber base beneath it. The supplied technician notes recommend that approach for nails that move substantially under a rigid gel. It is not permission to mix any two bottles: verify layer order, cure requirements, and compatibility before changing the service.
When apex placement matters more
If a longer nail repeatedly fails near the stress area, a base swap may leave the mechanical problem untouched. Check the side profile for an apex that supports the working length, then inspect both sidewalls from above. I would shorten or rebalance an unsupported extension before calling the client’s nail plate the problem. For product differences, see the liquid gel versus hard gel comparison.
 Read NextNail Apex Placement: 6 Best Steps for the Perfect Set
How to fix lifted builder gel without repeat damage
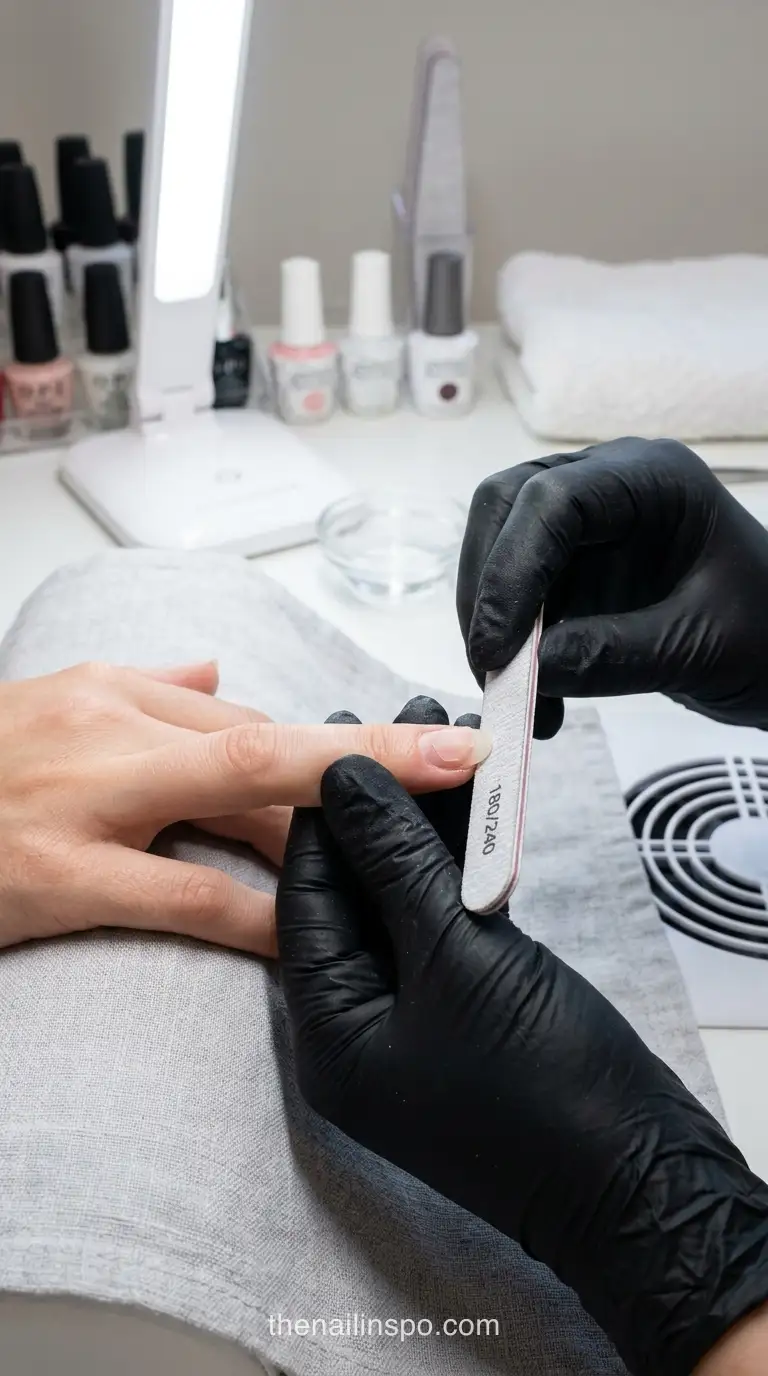
Repair only after the separated area is exposed and the natural nail beneath it can be assessed. Don’t glue or top-coat over a pocket. I treat a small, isolated lift on an otherwise sound nail differently from widespread separation, a crack, or an uncomfortable nail: those call for removal or an in-person assessment rather than a quick patch.
Nail prep for builder gel, minus over-buffing
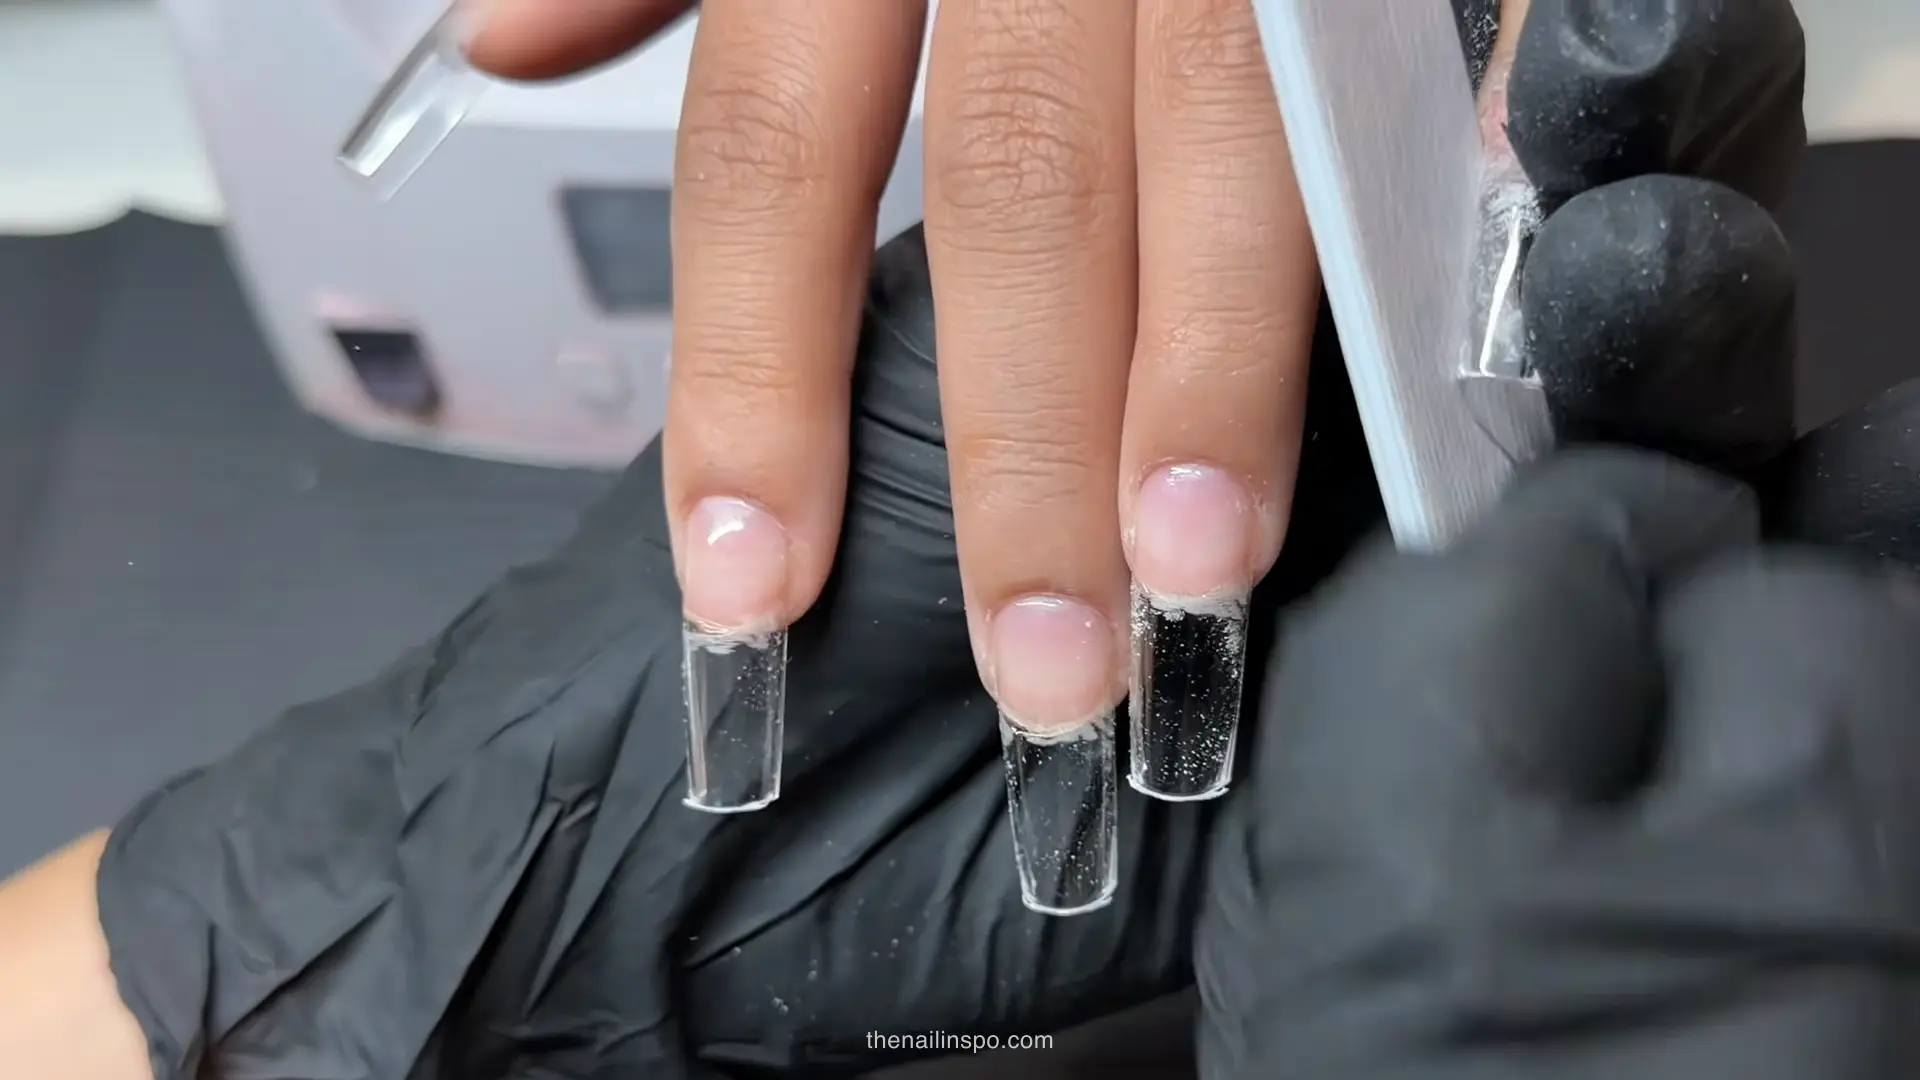
Prepare the newly exposed nail according to the exact gel system, removing residue and dust without grinding into the plate. More abrasion is not a substitute for finding the original failure. The supplied notes cite a 0.3 mm plate figure, but measured nail thickness varies; I would not use one number as a filing allowance.
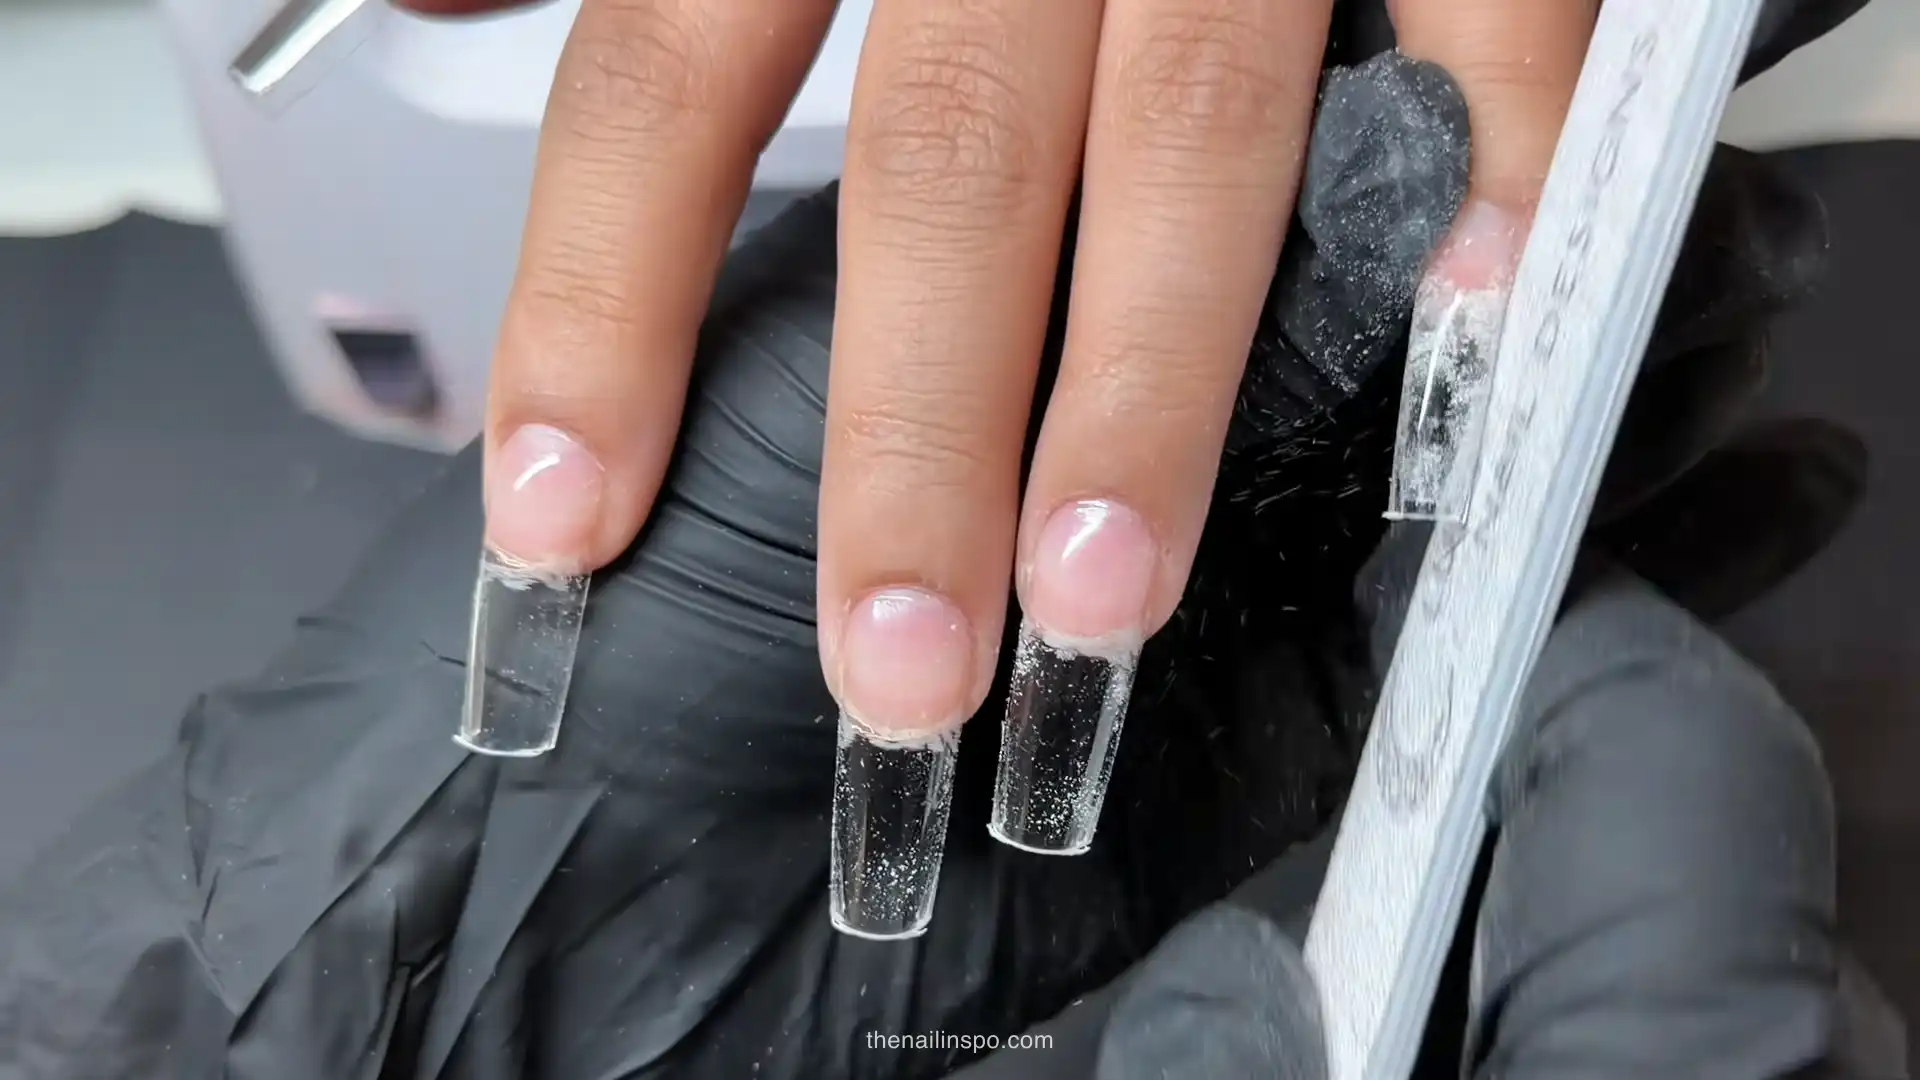
Mistakes to avoid during a small repair
Leaving a hidden lifted edge, mixing incompatible products, or curing a fresh bead thicker than the maker permits can repeat the failure. I check the boundary from two angles before applying anything new. If the nail looks altered or the separation extends farther than expected, stop rather than filing blindly toward the plate.
Small-lift repair sequence: Allow roughly 30 minutes for assessment and a limited repair; this is a planning allowance, not a promised service time.
- Step 1: Inspect and isolate the lift. Find the first gap from the top, side, and end views. Ask about impact and check whether the rest of the enhancement remains securely attached.
- Step 2: Remove separated product. Gently file away the lifted material without forcing it off the natural nail. Stop if you cannot distinguish attached product from exposed plate.
- Step 3: Prepare the exposed nail. Clear residue and dust, then use the cleanser, dehydrator, and primer only as directed by the chosen system. Keep prep gentle and product off the skin.
- Step 4: Rebuild and verify. Apply compatible base and builder in the maker’s sequence, restore the needed structure, and complete each specified cure. Refine the edge without creating a new underside ledge.
Sophia Beed’s note: When a repair needs deeper filing to make the boundary disappear, stop and reconsider the repair. A smooth-looking overlay is not worth thinning the natural plate.
- How to apply liquid gel extensions: See the form, apex, and curing sequence together.
- Does liquid gel damage nails?: Separate product questions from prep and removal damage.
Frequently Asked Questions About Builder Gel Lifting
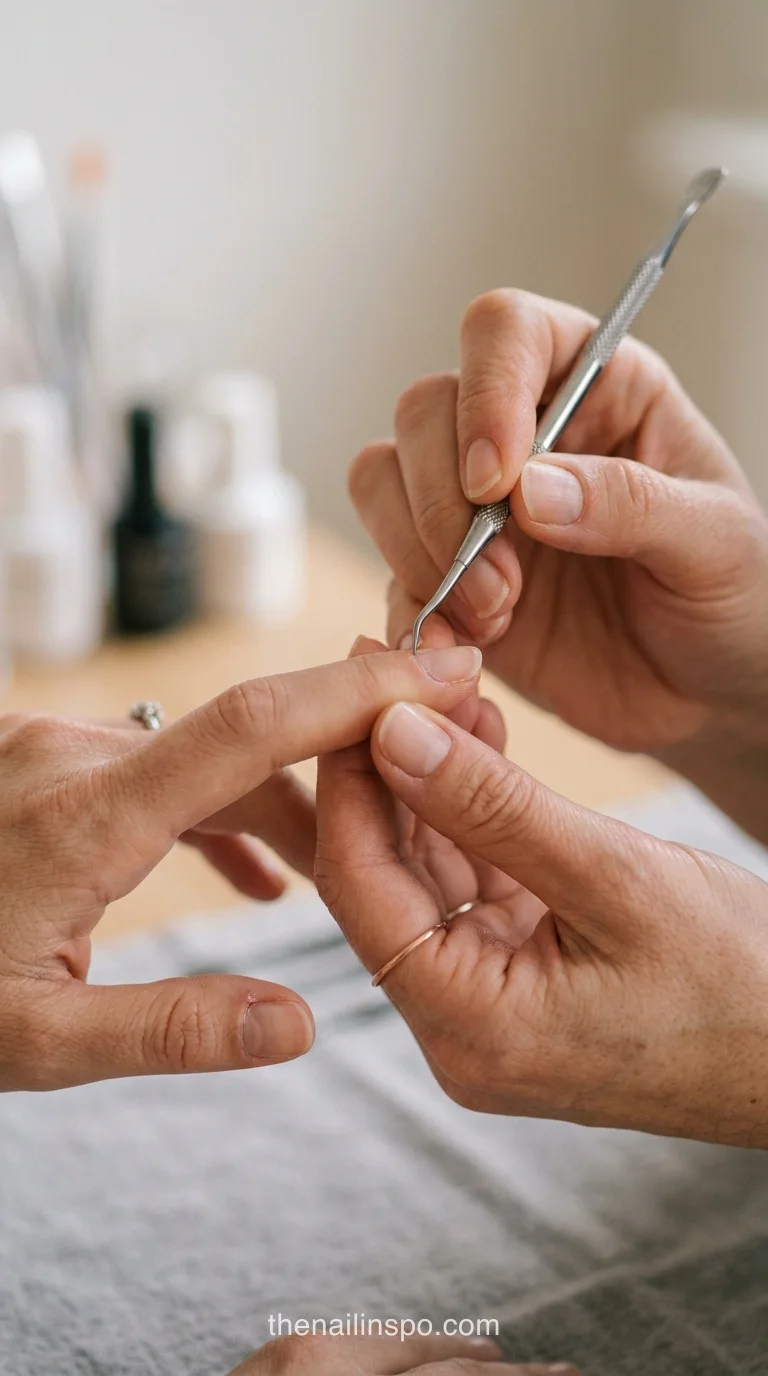
A repair decision depends on what remains attached and what the exposed nail looks like, not merely whether the gap is small. I would rather leave a nail uncoated for assessment than disguise a pocket with fresh product. These questions cover the choices that follow the diagnosis.
What is the “invisible cuticle” in nail care?
The “invisible cuticle,” or pterygium, is non-living tissue that adheres to the nail plate. It must be removed during preparation because gel cannot bond to it, leading to lifting.
Can I fix a lifted gel nail at home with top coat?
No, simply applying top coat over a lifted gel nail will not fix the underlying issue. The separated product must be removed, the natural nail inspected, and then rebuilt on a sound surface to prevent further damage.
How long should professional liquid gel nails typically last?
Properly applied professional liquid gel nails should typically last for two to three weeks without lifting, assuming correct preparation, application, and client aftercare.
The next time a set lifts, photograph the first gap before anyone removes product. Record the finger, location, time since application, product, lamp, and whether there was an impact. That small record makes a repeat failure easier to investigate than a vague note saying “gel didn’t last.” If the same location fails again after one targeted change, reassess the whole system rather than adding more primer.
Comments (0)
No comments yet. Leave a thought below!