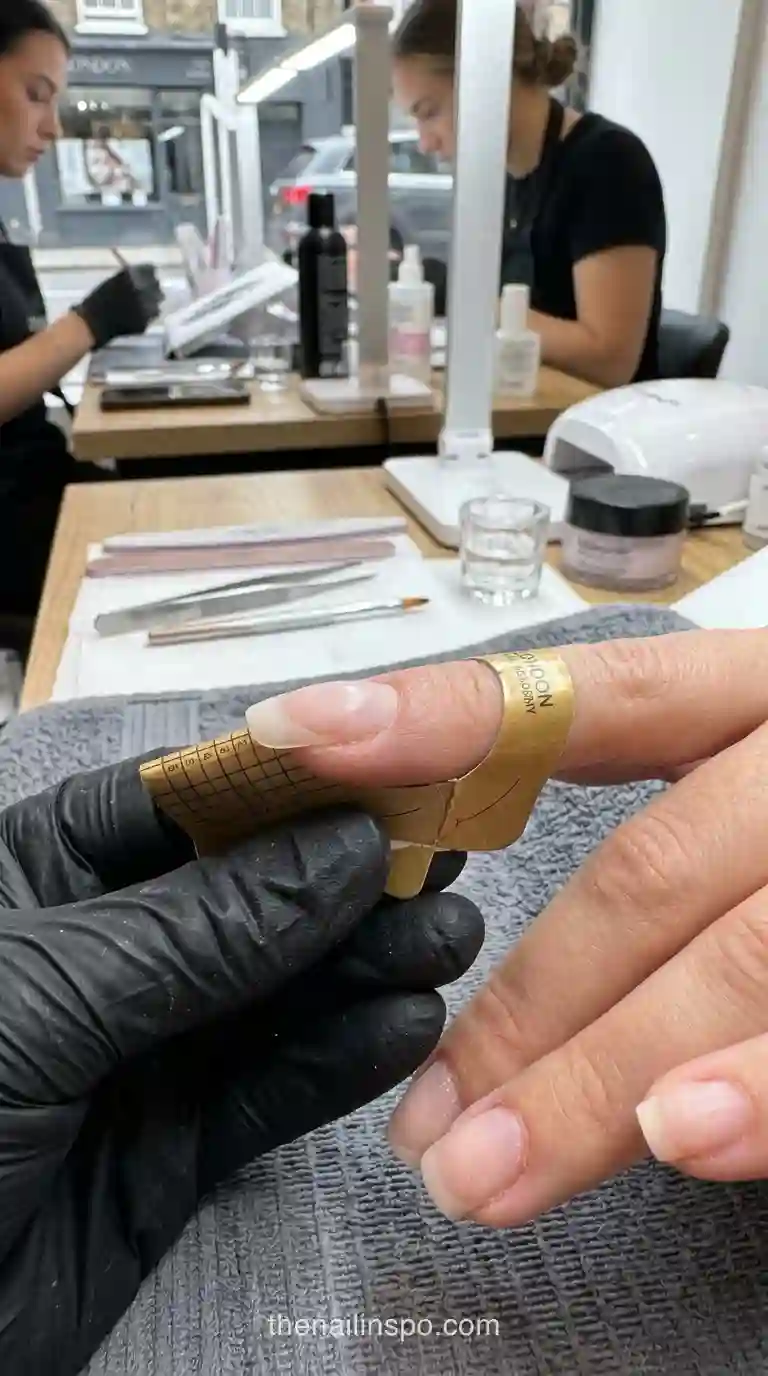
Liquid gel nail extensions are applied by preparing the natural nail, fitting a form, applying a base coat, sculpting the extension and apex with builder gel, and curing each layer under a UV/LED lamp. The process concludes with shaping, filing, and applying a top coat.
Key takeaways- “Liquid gel” describes uncured consistency, not whether a product can support an extension.
- A snug form gives the new edge a continuous path from the natural nail.
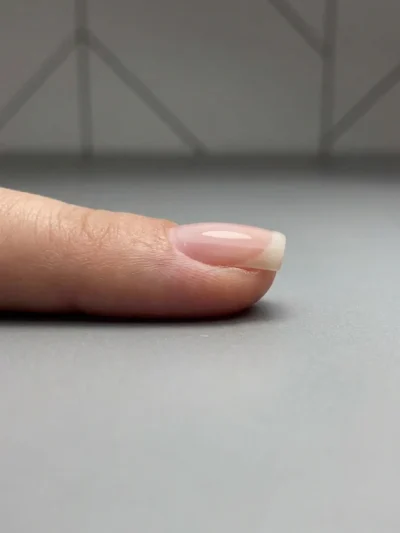
- Check the arch from the side and the C-curve from the end before the final cure.
- A lamp’s advertised wattage cannot confirm that a particular gel has cured adequately.
What Are the Key Metrics and Timelines for Liquid Gel Nail Extensions?
| Metric | Value | Reference / Industry Baseline |
|---|---|---|
| Average application cost | $50-$100 | Industry average, based on competitor pricing |
| Typical lifespan | 3-4 weeks | Nail industry standards, with proper aftercare |
| Average application time | 1.5-2 hours | Professional salon estimates |
| Average removal time | 30-45 minutes | Professional salon estimates |
 Read NextWhy Do Acrylic Nails Lift? 6 Secrets to Stop It Now
Here’s how to apply liquid gel nail extensions correctly
For a short sculpted set, confirm that your builder gel is extension-rated, prepare the nail without thinning it, and fit a form with no gap beneath the free edge. Build a thin extension bridge, cure it, add the structural bead, and refine only after the specified full cure. I check product suitability first in my London salon; excellent filing won’t rescue a gel intended only for overlays.
Can builder gel be used for extensions?
Yes, if that particular builder gel permits sculpting at the length you want. The bottle’s consistency isn’t permission: some flexible gels are sold for natural-nail overlays only. For example, Gellifique lists its Apex Gel Extend for extensions up to 0.5 cm, about 0.2 in, and directs longer work to its hard builder system. Check your own formula’s limit.
The tools to have ready before you start
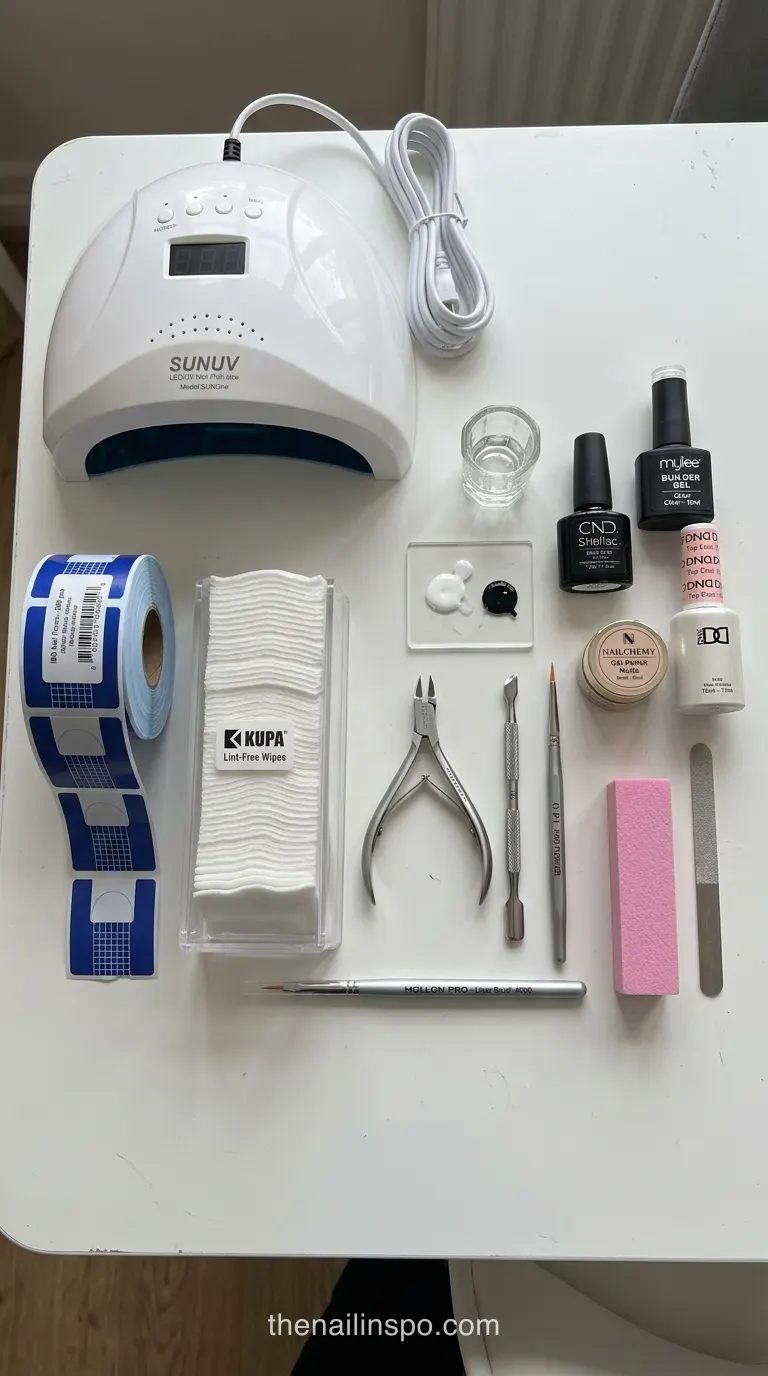
Set out fitted nail forms, a gentle prep file, lint-free wipes, your gel system’s cleanser and base or bonder, a liner brush, and its compatible full-size curing lamp. A hand file lets you inspect a first set more deliberately than an e-file. Keep a clean detail brush within reach: uncured gel crossing onto skin needs removing before the finger enters the lamp.
Builder gel extensions vs full-cover tips
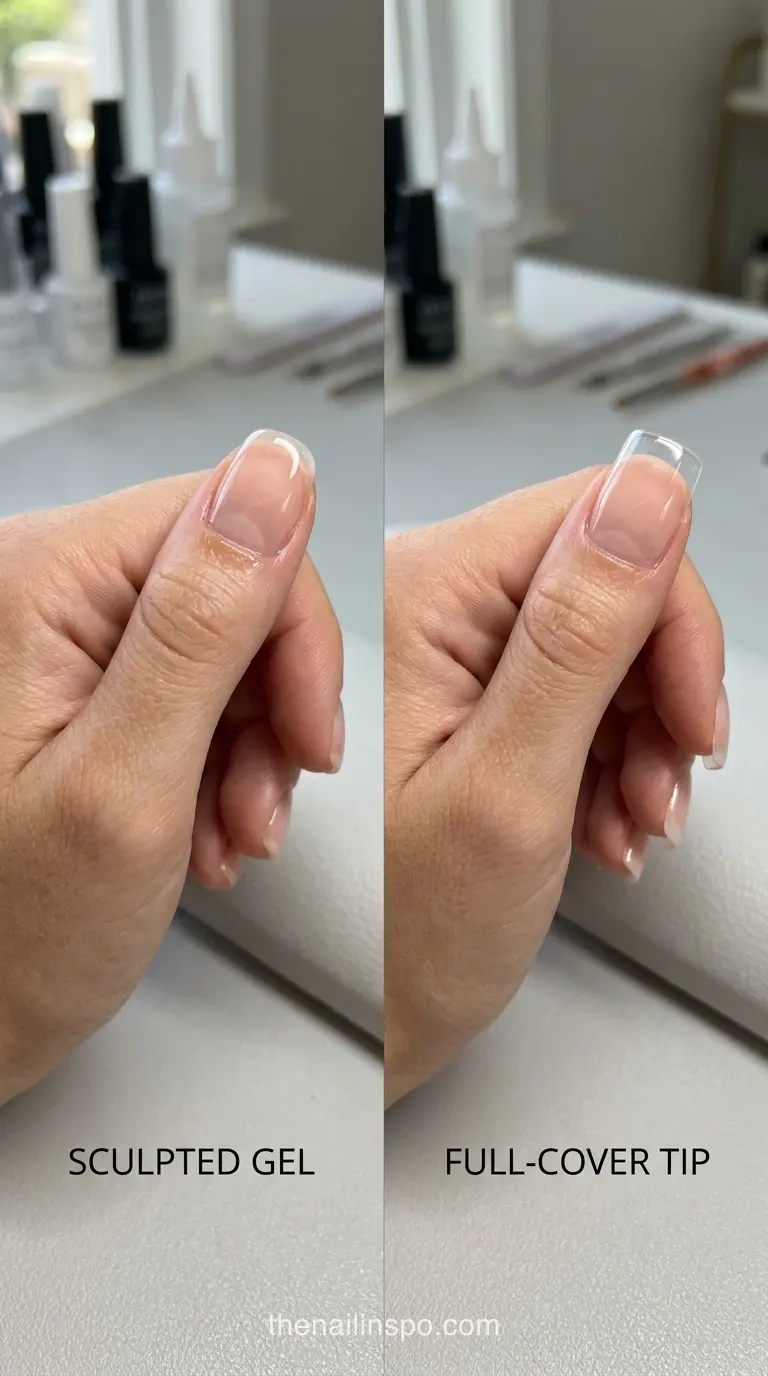
Sculpted builder gel wins when you need to customize a short free edge or correct the direction of growth. Full-cover tips win when the client wants a pre-shaped result and the tip fits from sidewall to sidewall without pressure. Neither is my default for a nail that bends sharply beneath substantial added length; shorten the plan or reconsider the system.
| Option | Best fit | Trade-off | Verdict |
|---|---|---|---|
| Extension-rated liquid builder gel on a form. | It lets you tailor a short edge to the nail’s width and growth direction. | Its flowing bead demands careful control at the sidewalls. | Choose it for a custom short extension. |
| Hard builder gel on a form. | Its firmer finished structure suits lengths the chosen formula permits. | Removal generally means skilled filing rather than soaking. | Choose it when the intended length exceeds your liquid gel’s limit. |
| Full-cover soft gel tips. | Pre-shaped tips give a consistent outline when their curvature fits. | A poor fit can leave pressure or gaps beneath the tip. | Choose them for speed only when the fit is sound. |
Pick by the length and the nail beneath it, not by which bottle costs more. A soft gel that moves comfortably on a short nail may be the wrong material for a longer sculpted shape.
Self-leveling builder gel vs hard gel
Self-leveling builder gel is easier to guide into a smooth short arch; a suitable hard gel gives you more structural choice when the planned length demands it. These labels can overlap, so read the specific product’s extension and removal directions. I won’t substitute an overlay-only bottle for hard gel because its bead happens to look thick enough.
When full-cover tips are the better choice
Use a full-cover tip when its width and curve match the nail without forcing the sidewalls down. If the tip rocks, leaves a gap, or needs pressure to stay seated, sculpting on a fitted form gives you more control. A ready-made C-curve is useful only when it belongs on the finger wearing it.
 Read NextHard Gel vs Acrylic: Which One Is Best for You?
What are the Leading Brands and Product Types for Liquid Gel Extensions?
Leading brands offer diverse liquid gel options for extensions. Brands like IBD, OPI, and CND are renowned for their traditional hard gels and builder gels, providing exceptional strength and durability. Kokoist and Light Elegance specialize in advanced builder gels and soft gel systems, catering to various application needs. Additionally, Aprés Gel-X offers innovative pre-shaped soft gel tips, while Gellifique provides specific builder gels like Apex Gel Extend for customized lengths, ensuring a wide range of choices for professionals.
What Specific Products and Tools Are Essential for Gel Nail Extensions?
Achieving professional liquid gel nail extensions relies on selecting the right products and tools. While sculpting with builder gel on universal forms is common, newer soft gel tips like Aprés Gel-X offer an alternative for quicker application. Essential materials often include a protein bond for adhesion, various hard gel or builder gel formulations, and specialized tools such as an e-file for shaping. Proper curing with a compatible UV/LED light is crucial for durability.
Sculpt with nail forms from prep to finish
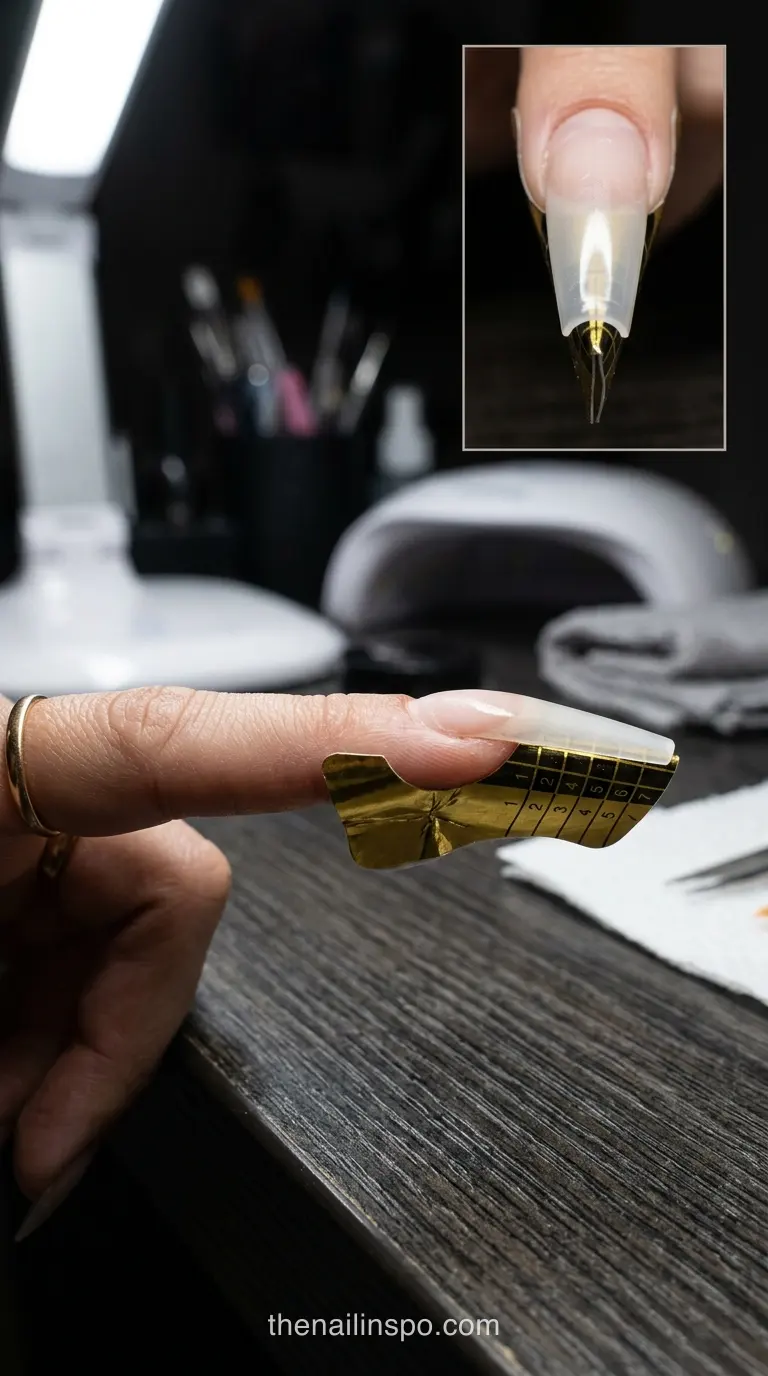
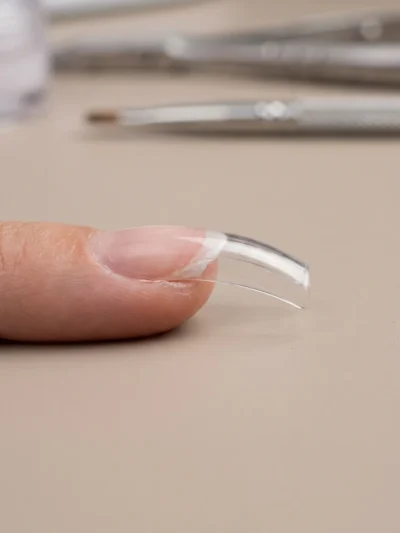
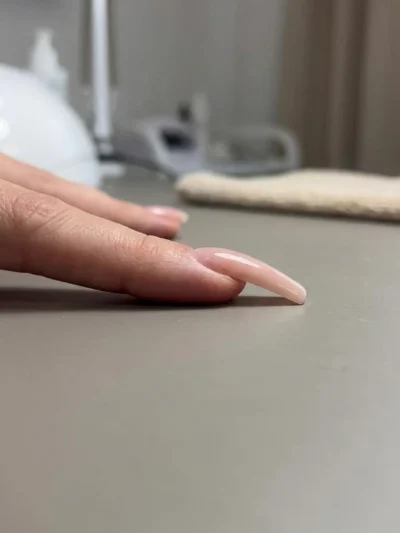
A form should continue the natural nail’s direction rather than point upward or droop. Build the free-edge bridge first, then put the structural volume where the extended nail takes stress. My last check before curing is a side view and an end view: a polished top view can hide an uneven arch or a lopsided C-curve.
Prep and fit a form for short lengths
Gently remove residue from the nail plate, take off surface shine without digging into keratin, clear the dust, and cleanse as your system directs. Slide the form under the free edge until it meets the nail without a gap; adjust its opening rather than bending the natural nail to fit. Follow the maker’s base and primer sequence.
Apex placement and final filing checks
Keep the highest part over the working stress area and taper toward the cuticle and tip. The supplied salon notes describe a roughly 1.0 mm apex and a 0.5–0.7 mm distal edge for one approach, not a universal thickness specification. Length, curve, nail flexibility, and the gel’s instructions change the build. Don’t file the arch flat to correct bulky sidewalls.
Sophia Beed’s note: I turn the hand palm-up for 3–6 seconds after guiding the bead, then check both sidewalls before curing. Gravity helps gather flowing gel toward the center; it doesn’t fix a bead placed too far toward the tip.
Step 1: Prepare and fit the form
Clean and lightly prepare the natural nail according to your gel system. Fit a form flush under its free edge and check that it follows the finger’s direction from the side.
Step 2: Apply the base and extension bridge
Apply and cure the manufacturer’s specified base if required. Guide a thin layer of extension-rated gel from the natural nail onto the form to establish a short, continuous free edge; cure as directed.
Step 3: Build the apex
Add a controlled bead over the stress area, tapering it toward the cuticle and tip. Keep uncured product off the skin, inspect the sidewalls and C-curve, and complete the gel maker’s full cure.
Step 4: Remove the form and refine
Release the form without forcing the new edge. Cleanse the inhibition layer if your system requires it, then file the free edge and sidewalls while preserving the apex and keeping the natural nail out of the file’s path.
Step 5: Finish and inspect
Clear filing dust, apply the compatible finish, and cure for its stated time. Inspect the underside for excess product and the end view for balanced sidewalls before the set leaves your table.
Tips for Beginners: Avoiding Common Liquid Gel Extension Mistakes
Beginners often face challenges with liquid gel extensions, particularly with form fitting and gel application. Ensure forms are trimmed to fit snugly without gaps and point straight or slightly downward to prevent an upward curve. When applying gel, avoid flooding the cuticles by leaving a narrow clearance, and manage self-leveling gels by turning the hand palm-up briefly. Practice is crucial for mastering apex placement and C-curve symmetry.
How Do Sculpted Gel Extensions Compare to Gel-X Tips?
While this guide focuses on sculpted liquid gel extensions using forms, another popular method involves pre-shaped soft gel tips, often known by brands like Aprés Gel-X. These tips are applied directly to the natural nail and cured, offering a faster, often beginner-friendly application compared to sculpting. Gel-X provides a pre-defined shape, whereas sculpted extensions allow for complete customization of length and form.
What Essential Tools and Materials Do You Need?
To successfully apply liquid gel nail extensions, gather essential tools and materials. This includes an e-file and hand files for shaping, swipe liquid and protein bond for nail prep, a base gel, your chosen hard gel or builder gel, and a compatible LED/UV light for curing. Don’t forget nail forms, a dust collector, lint-free wipes, and gel nail polish or a top coat for finishing.
How Can You Ensure Long-Lasting Gel Nail Extensions?
Proper aftercare is crucial for extending the life and beauty of your liquid gel nail extensions. Regularly moisturize your cuticles with oil, wear gloves for household chores to protect your nails from harsh chemicals, and avoid using your nails as tools. Schedule professional refills every 2-3 weeks to rebalance the apex and maintain structural integrity, and always seek professional removal to prevent damage to your natural nails.
How Can You Troubleshoot Common Liquid Gel Nail Extension Problems?
Addressing common issues ensures extension longevity. For lifting, ensure thorough nail prep, avoid flooding cuticles, and maintain a narrow clearance. If extensions break, re-evaluate apex placement and gel thickness for structural integrity. Heat spikes during curing can be mitigated by using thinner layers or a low-heat mode on your lamp, and briefly removing the hand from the lamp to cool. Always follow manufacturer guidelines for best results.
Why gel lifting at cuticle starts before curing
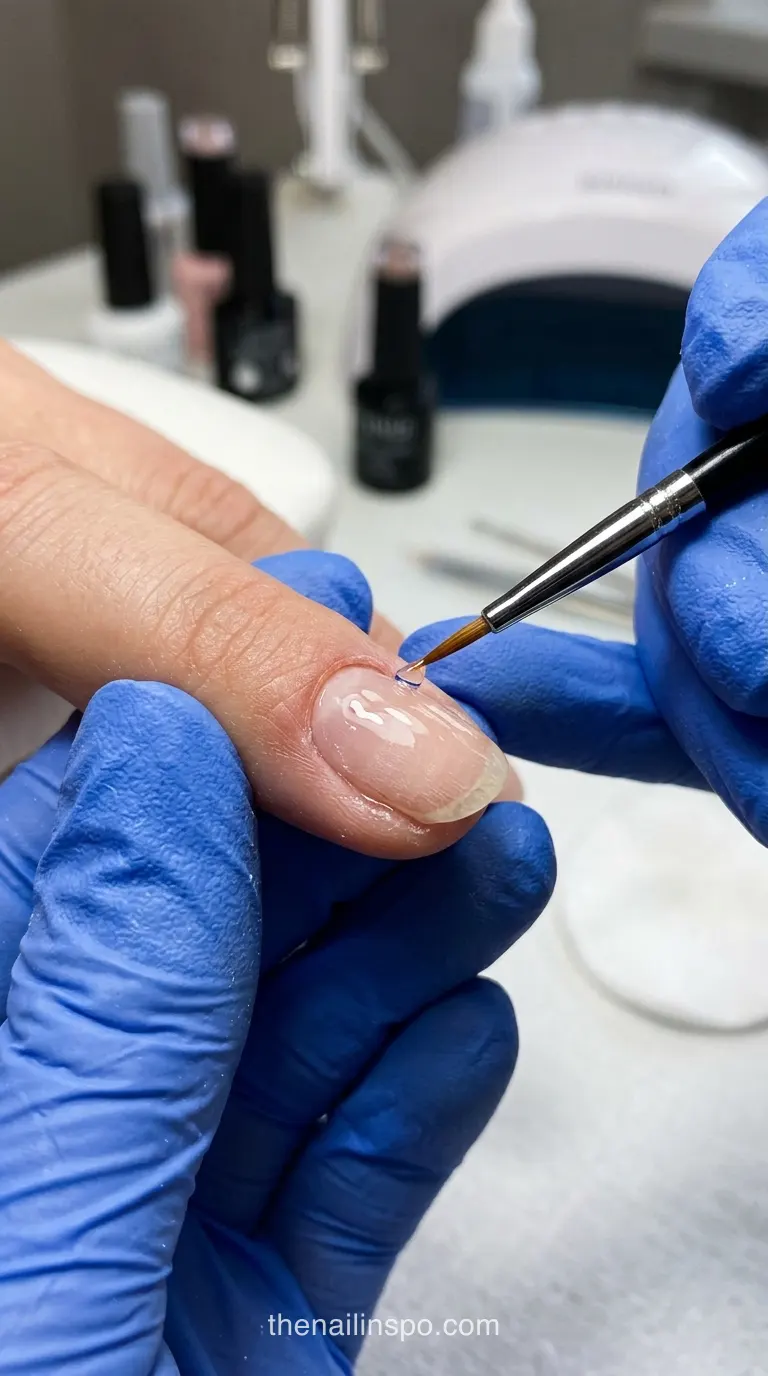
A cuticle-area lift often begins with residue left on the nail plate, a flooded product edge, or gel placed too close to moving skin. Leave a narrow, visible clearance at application and clean the perimeter before curing. I use two deliberate cleansing passes around the growth area; I don’t treat extra primer as a fix for missed prep.
Does a UV/LED nail lamp ensure a full cure?
No. Even a lamp labeled 36–48 W or 365/405 nm may not deliver the light a particular formula needs at the nail. Match the gel maker’s lamp, layer limits, hand position, and exposure time; a firm surface isn’t proof of full cure. UV-cure guidance explains why electrical wattage doesn’t measure curing intensity.
What to do about a heat spike during curing
If curing feels sharply hot, remove the hand from the lamp and let it cool rather than enduring the spike. A thinner structural bead and the product-approved low-heat cycle may make the next attempt more comfortable. My salon notes mention a brief 5–10-second flash cure, but that only holds the shape; it never replaces the maker’s full cure.
How Do Different Gel Types and Brands Compare for Extensions?
The market offers various gel types and brands. Builder gels, like those from IBD or Kokoist, are versatile for sculpting and overlays. Hard gels, often seen from OPI or CND, provide maximum durability and require filing for removal. Soft gel tips, popularized by Aprés Gel-X, offer quick, pre-shaped applications. Light Elegance also provides a range of high-quality builder gels, each system designed for specific needs and desired outcomes.
Sophia Beed’s note: Some technicians report relieving distal delamination by filing beneath a cured edge. I don’t recommend copying a fixed 1.0 mm e-file cut: the natural nail and the extension need inspecting first, and careless filing can remove sound nail.
- Liquid gel vs hard gel nails: Compare flexibility, length, and removal before choosing a system.
- Does liquid gel damage nails?: Separate product concerns from prep and removal mistakes.
- The liquid gel nails guide: Sort out service names before booking or buying.
 Read NextNail Apex Placement: 6 Best Steps for the Perfect Set
Liquid gel nails: frequently asked questions
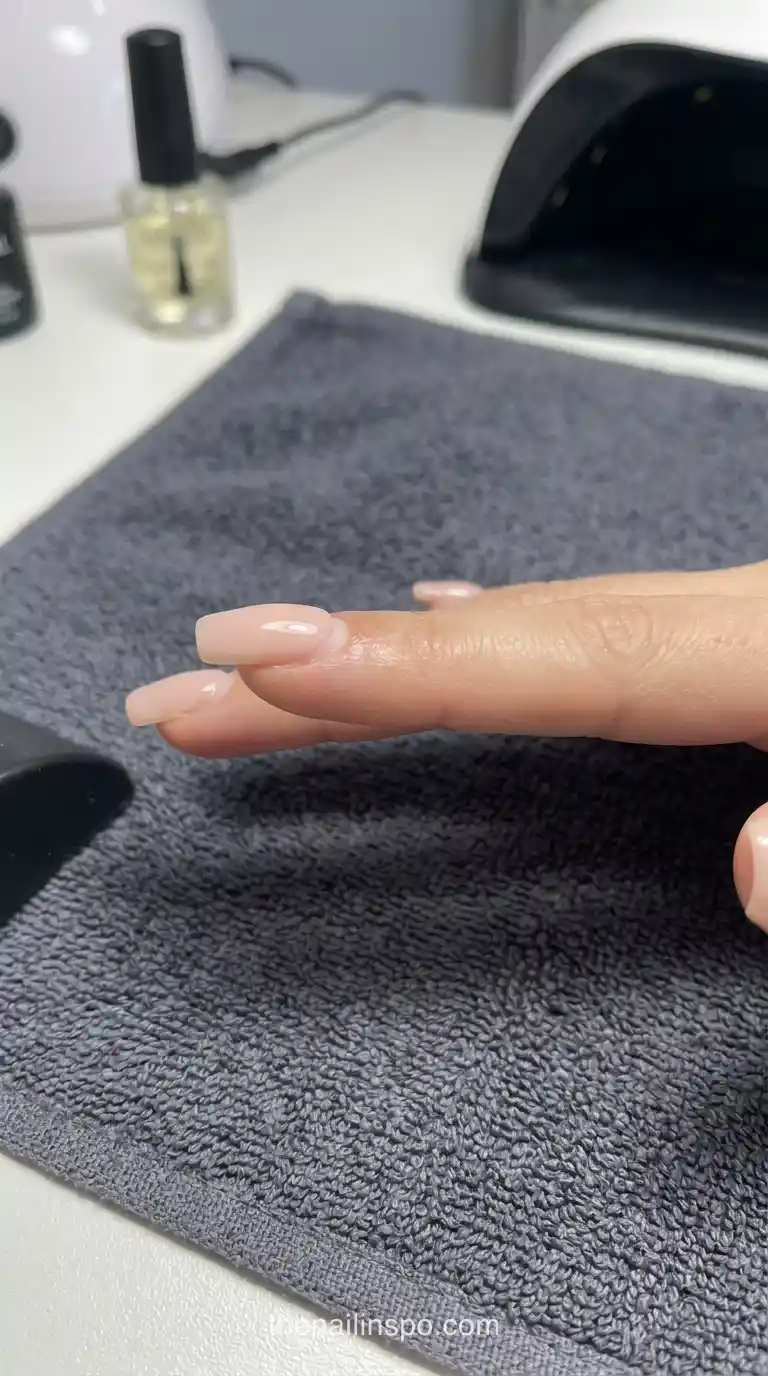
Once the shape is finished, the useful questions change: how growth affects it, what removal the formula allows, and what a salon appointment involves. I record the actual building product on a client’s service notes, because “liquid gel” alone won’t tell the next technician how to maintain the set.
What is the Typical Cost and Time Commitment for Liquid Gel Extensions?
Understanding the investment for liquid gel extensions is crucial. The average application cost typically ranges from $50-$100, varying by salon and location. Application usually takes 1.5-2 hours, while professional removal requires 30-45 minutes. With proper aftercare, these extensions boast a lifespan of 3-4 weeks, necessitating refills every 2-3 weeks to maintain their structural integrity and aesthetic appeal.
What is the difference between builder gel and hard gel?
Builder gel is typically more flexible and self-leveling, often used for overlays and shorter extensions. Hard gel is stronger and less flexible, ideal for longer, more durable extensions, and usually requires filing for removal.
Can liquid gel nail extensions damage natural nails?
When applied and removed correctly by a professional, liquid gel extensions should not damage natural nails. Damage often occurs from improper application, aggressive filing, or peeling off the extensions, which can strip layers of the natural nail.
How often do liquid gel nail extensions need refills?
Liquid gel nail extensions typically require refills every 2 to 3 weeks. This schedule allows for rebalancing the apex as the natural nail grows, maintaining the extension’s strength and preventing lifting or breakage.
At the next appointment, compare the grown-out nail with a side-view photo taken on application day. If the high point has traveled toward the tip, ask for a rebalance rather than a quick fill at the cuticle. And keep the product name on the service record: it tells the next technician far more than “liquid gel” ever will.
Comments (0)
No comments yet. Leave a thought below!